Quick Links
Adding LED lighting behind your TV creates ambiance and atmosphere. It looks cool. But you know what's better? Adding responsive lighting---that means it changes with the image on the screen. There are systems out there that do this, but many of them have a high cost of entry. Enter the Immersion from Govee, which adds responsive lighting to your TV or monitor for just $70. And it's great.
For reference, products like the Philips Hue Gradient require the use of a sync box. This is a small box that sits between your video source and the TV and pulls the colors from what shows up on the screen before they actually hit said screen. In return, the lighting reacts basically in real-time. But the Philips lights are $220 and the sync box is an additional $230. And if you don't have a Hue Bridge you have to buy that too---that's another $60. So when it's all said and done, you're out about $510 for the whole shebang. That's a lot.
By comparison, the Govee Immersion uses a camera pointed at the TV screen. It uses the info on the screen to adjust the lighting automatically. While it's likely not quite as responsive as a sync box, I've been impressed with the latency here---it's definitely responsive enough that it doesn't make for a jarring experience.
The camera setup has a couple of benefits. First, and most obviously, it's cheaper. Like, way. Secondly, it works with any content from all sources. With a sync box, you're limited to four HDMI devices. That means if you have an older device that doesn't use HDMI, then you're out of luck without an additional converter box purchase. Or if you use your TV's stock interface---like an included Roku or Fire TV OS---none of the content will work with the light strip. That's where the camera really excels because it will work with any content on the screen, regardless of the source.
With the details out of the way, let's look at the fun stuff: installation and using this thing.
Installation is Easy Peasy

Like most TV light strips, the Immersion sticks directly to the back of your TV---and installing it a cinch. If you can peel the back off a sticker and, uh, stick it to something, you can install the Immersion.
The LED strips use a 3M backing and are designed to go all the way around TVs between 55 and 75 inches (including the bottom, which some strips leave out). But fret not---you don't have to install the whole thing in one go, as it's segmented into four specific sections, with a bit of cable separating them for the corners. It also comes with clips to secure everything in place, which work best in the corners.

With the lights installed, it's time to mount the camera, which is my first (and perhaps only?) sticking point with the Immersion. The instructions tell you to stick the camera to the top of the screen, which I was admittedly worried about since I probably wouldn't be able to unsee it. But I did it anyway because that's what the instructions stated.
But when you fire up the app to get everything set up, it asks whether the camera is placed on the top or the bottom of the screen. This is a huge oversight in my opinion, as the instructions should make it very clear that you can use either position. The 3M tape on the camera is very sticky, but I was thankfully able to loosen it up with a hairdryer and move the camera to the bottom.
So yeah, when installing these, just keep in mind that you can install the camera on the bottom of the TV, which looks much better (but isn't without its own minor issues that we'll discuss down below).

Once the lights and camera are both installed, you'll stick the control box to the back of the TV and plug everything in. The whole process probably took me about 20 minutes, which included moving the TV away from the wall so I could get behind it. Easy peasy.
And Setup Is a Breeze
With everything installed and plugged up, fire that bad boy up and load up the Govee Home app for iOS or Android. You'll go through the normal motions here: set up an account, look for a new device, and input your Wi-Fi info. It's all pretty intuitive if you've ever set up a smart device before.


From there, you'll run through a calibration process. The Immersion comes with seven orange squares that have adhesive on the back---these go on your TV screen. One in each corner, one per side, and one opposite the camera. I will admit I was a little nervous about sticking an adhesive square on my TV's screen, so I just used a very light touch to get them in place. They came off just fine and left no damage. I also had to do this twice since I moved the camera after a couple of days of testing.
The calibration is pretty simple. With the squares placed, you mark each one using the app as the camera looks at the TV screen. This allows the camera to define the edges and corners of the display. The whole process takes about two minutes---super easy.
From there, you can completely control the Immersion from the app, which has an absolute ton of settings. Can settings options be weighed in physical units? I submit that they can. And this has a bunch.


You can do things like set timers for wake, sleep, and duration, as well as adjust the brightness, and switch up the mode depending on what you're doing. There are options for music, videos, solid colors, or scenes. Here's a quick rundown of each:
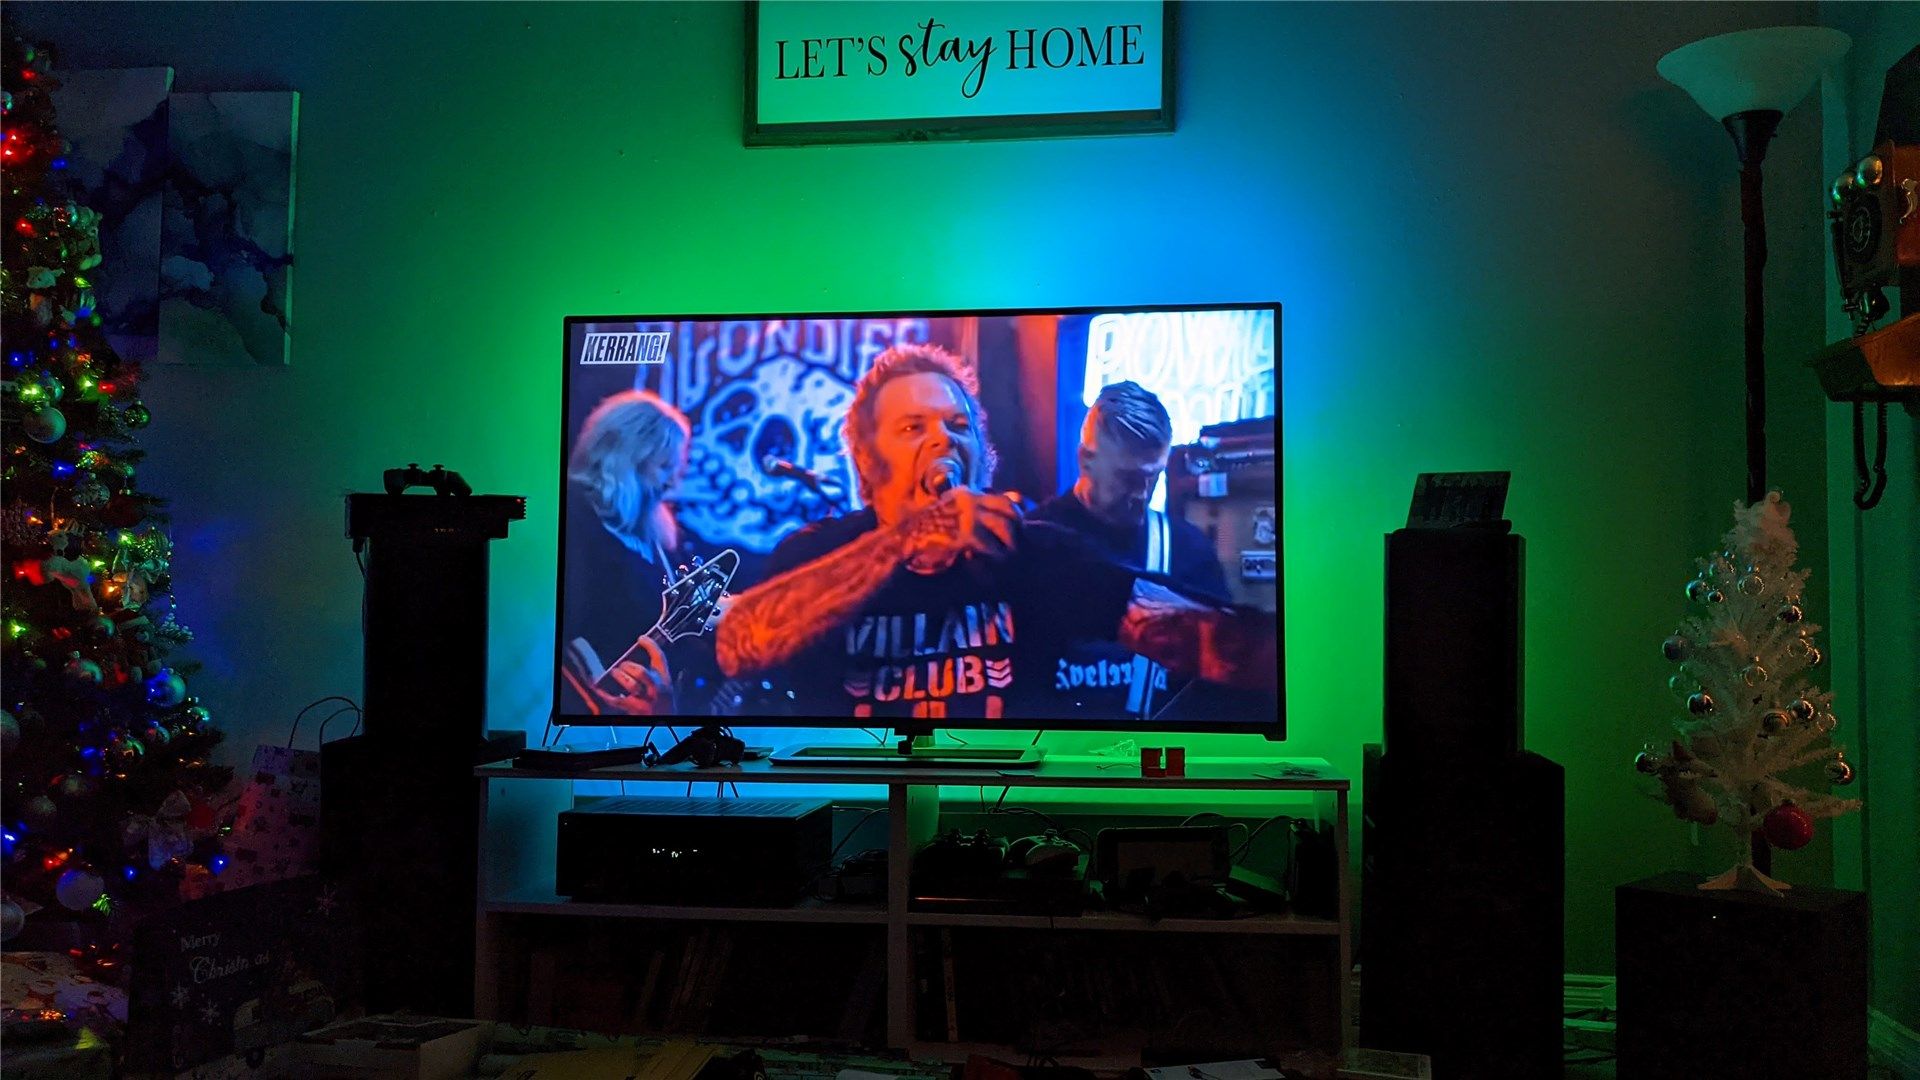
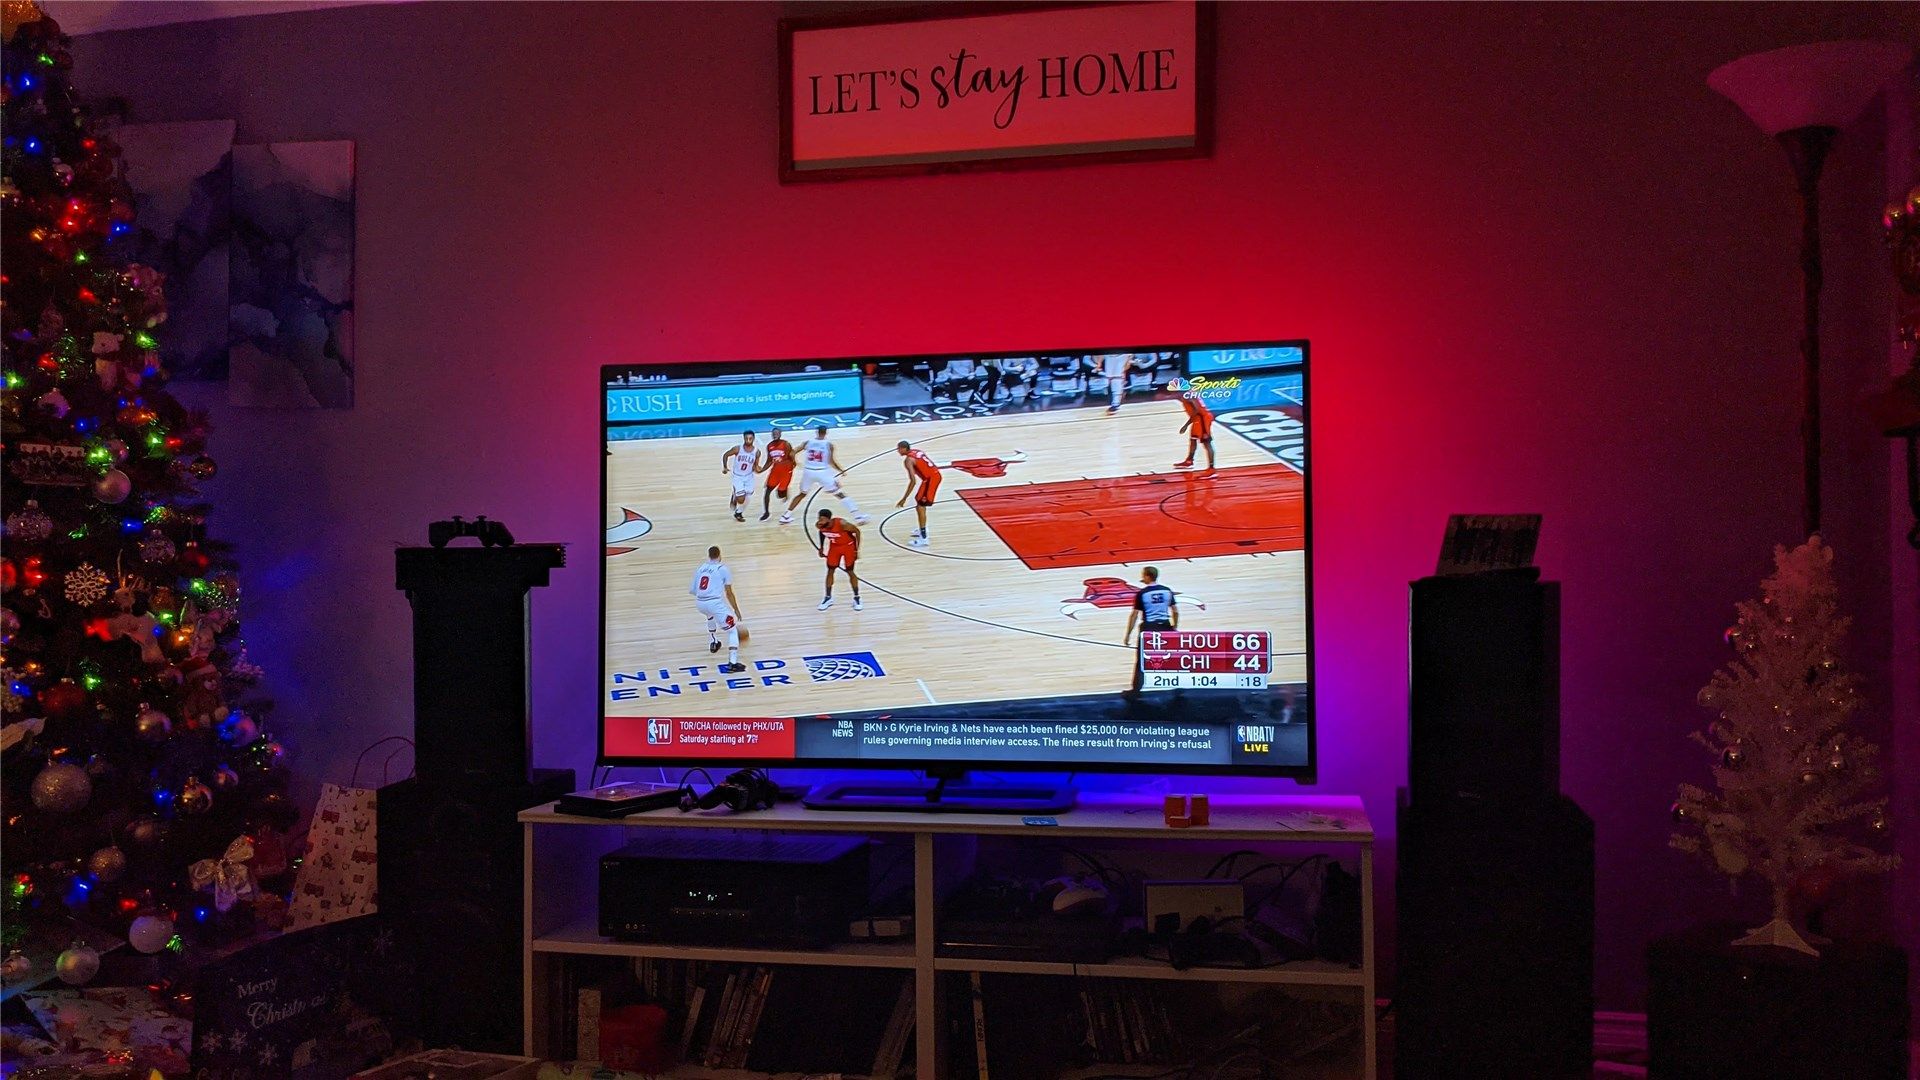
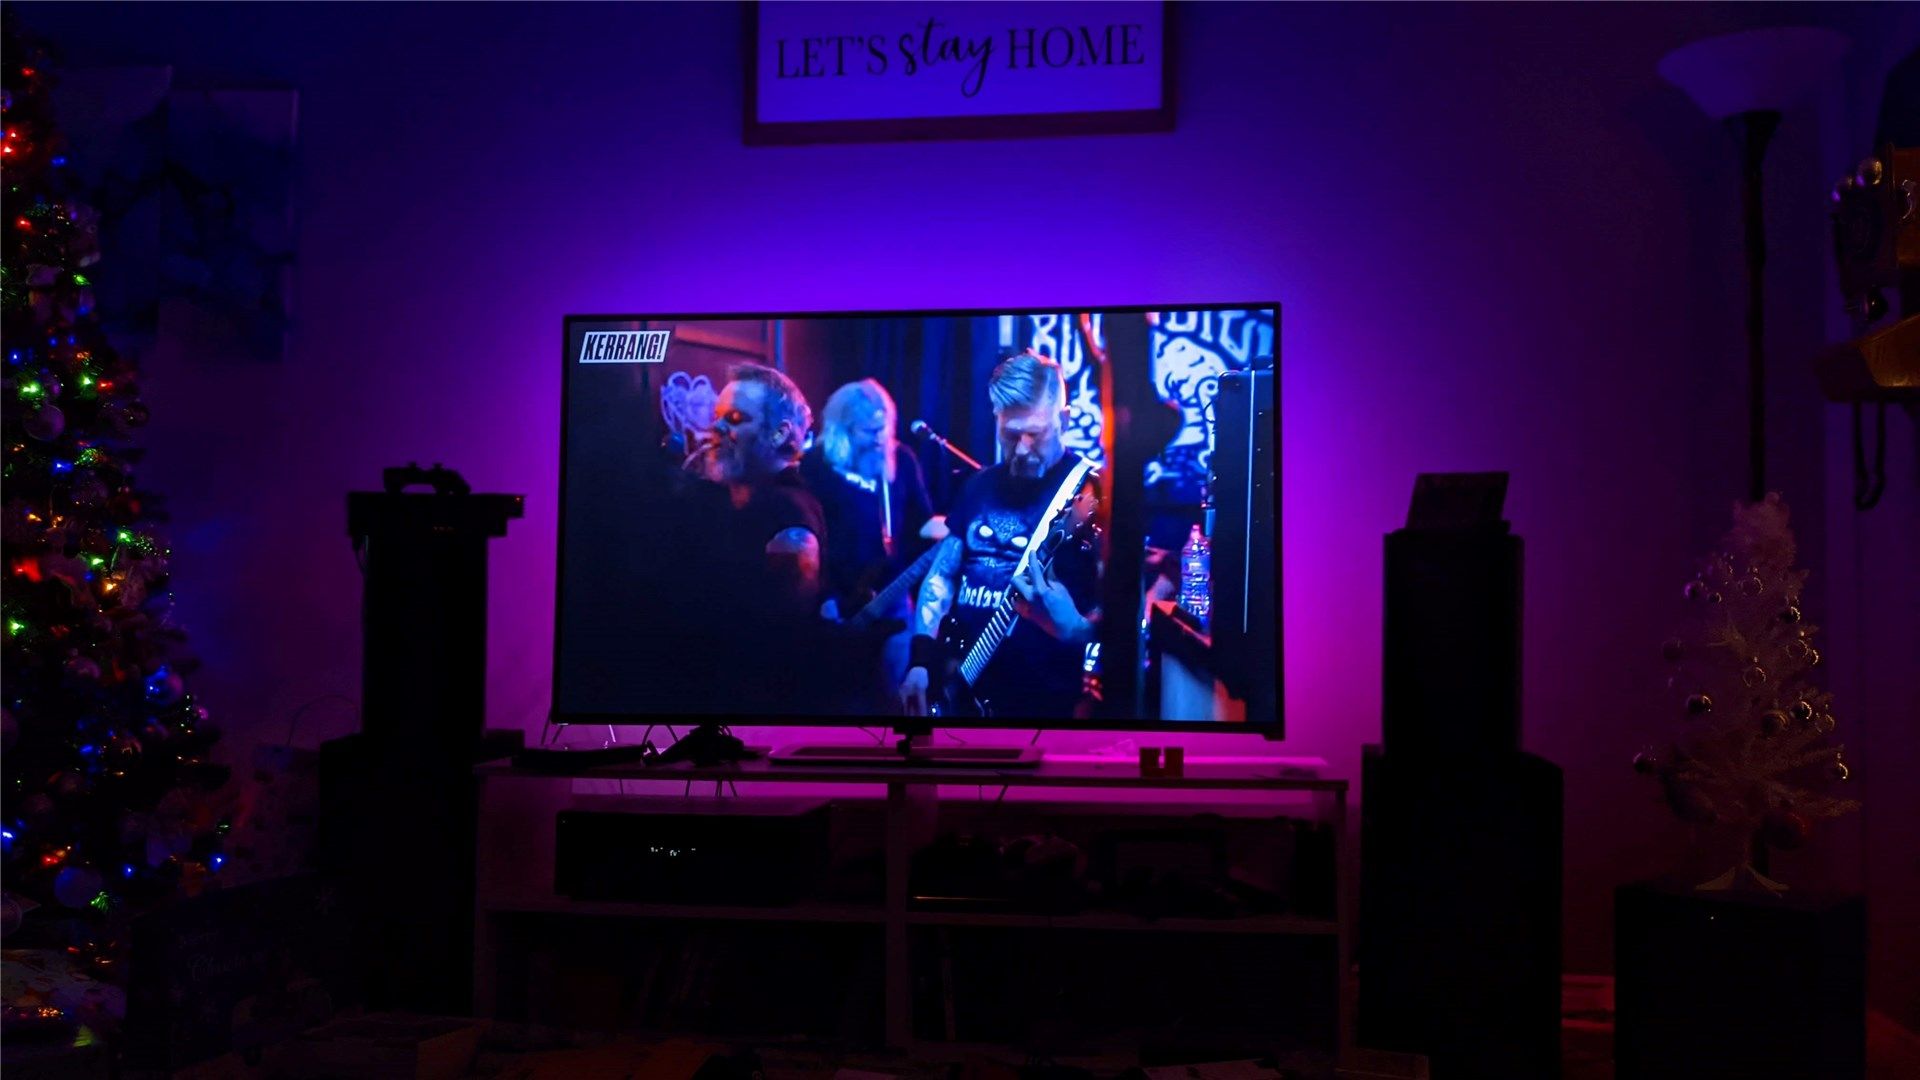
- Music: This is designed to sync lighting with music and works best with live concerts or similar. It uses the camera's on-board microphone to sync the colors with the music.
- Video: This is the setting you'll want to use when watching TV or movies. It uses the camera to synchronize the lighting with what's happening on the screen. You can set it so all lights are the same color based on the overall image or allow different sections to display various colors so it better matches particular areas of the screen. The latter is more immersive.
- Color: Solid colors or gradients, both of which can be user defined.
- Scene: Presets to emulate different environments, like sunrise, sunset, romantic, and more.
Of course, that's just the tip of the iceberg, as each mode has a slew of different options available. For example, aside from the already-mentioned option of solid or dynamic colors, the Video mode has an option to toggle Movie or Game modes. The Game setting appears to attempt to decrease latency, but as a result, also flickers a lot. I found the Movie setting to be fine for gaming.
There's one more setting you should be aware of: Google Assistant and Amazon Alexa integration. Because the Govee Immersion works with both---you'll add it through the normal process according to your digital assistant. The functionality here is pretty basic, though---you can turn the lights on and off or change the color (solid) with your digital assistant, but that's it. You'll have to use the app for more advanced functions.
I could get super granular with every setting here, but I think you get the idea. They all work really well. In fact, let's talk about that now.
Nice, but How Well Does It Work?

I shan't lie to you, friends. I wasn't expecting a lot from the Immersion. I mean, for a literal fraction of the cost of higher-end systems, surely it can't be great, can it?
Yes. It can. And it is.
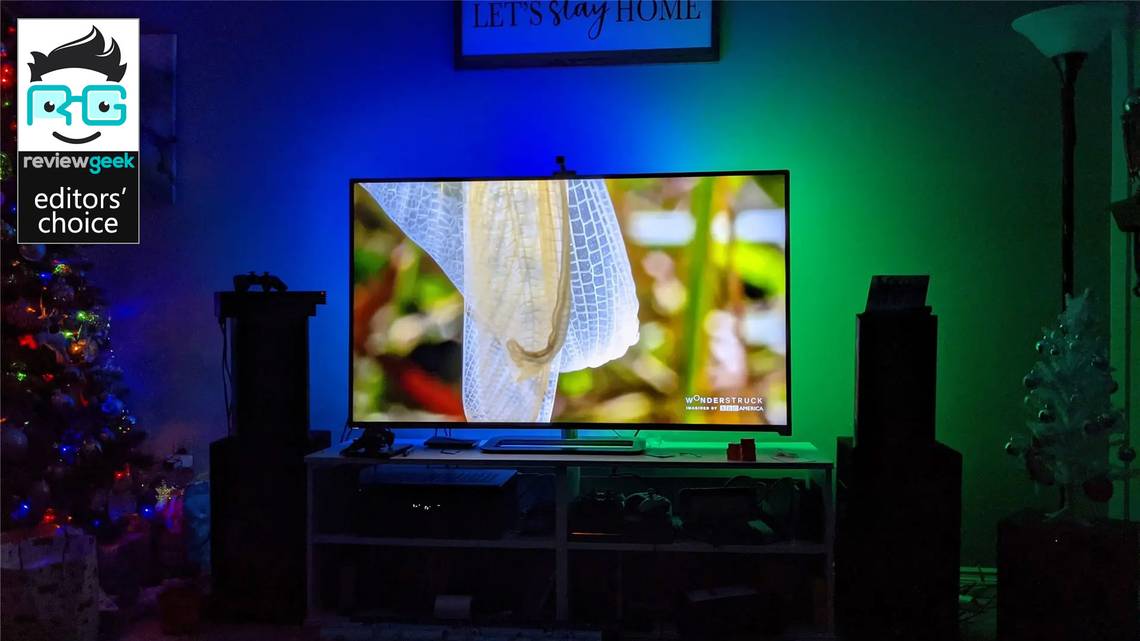
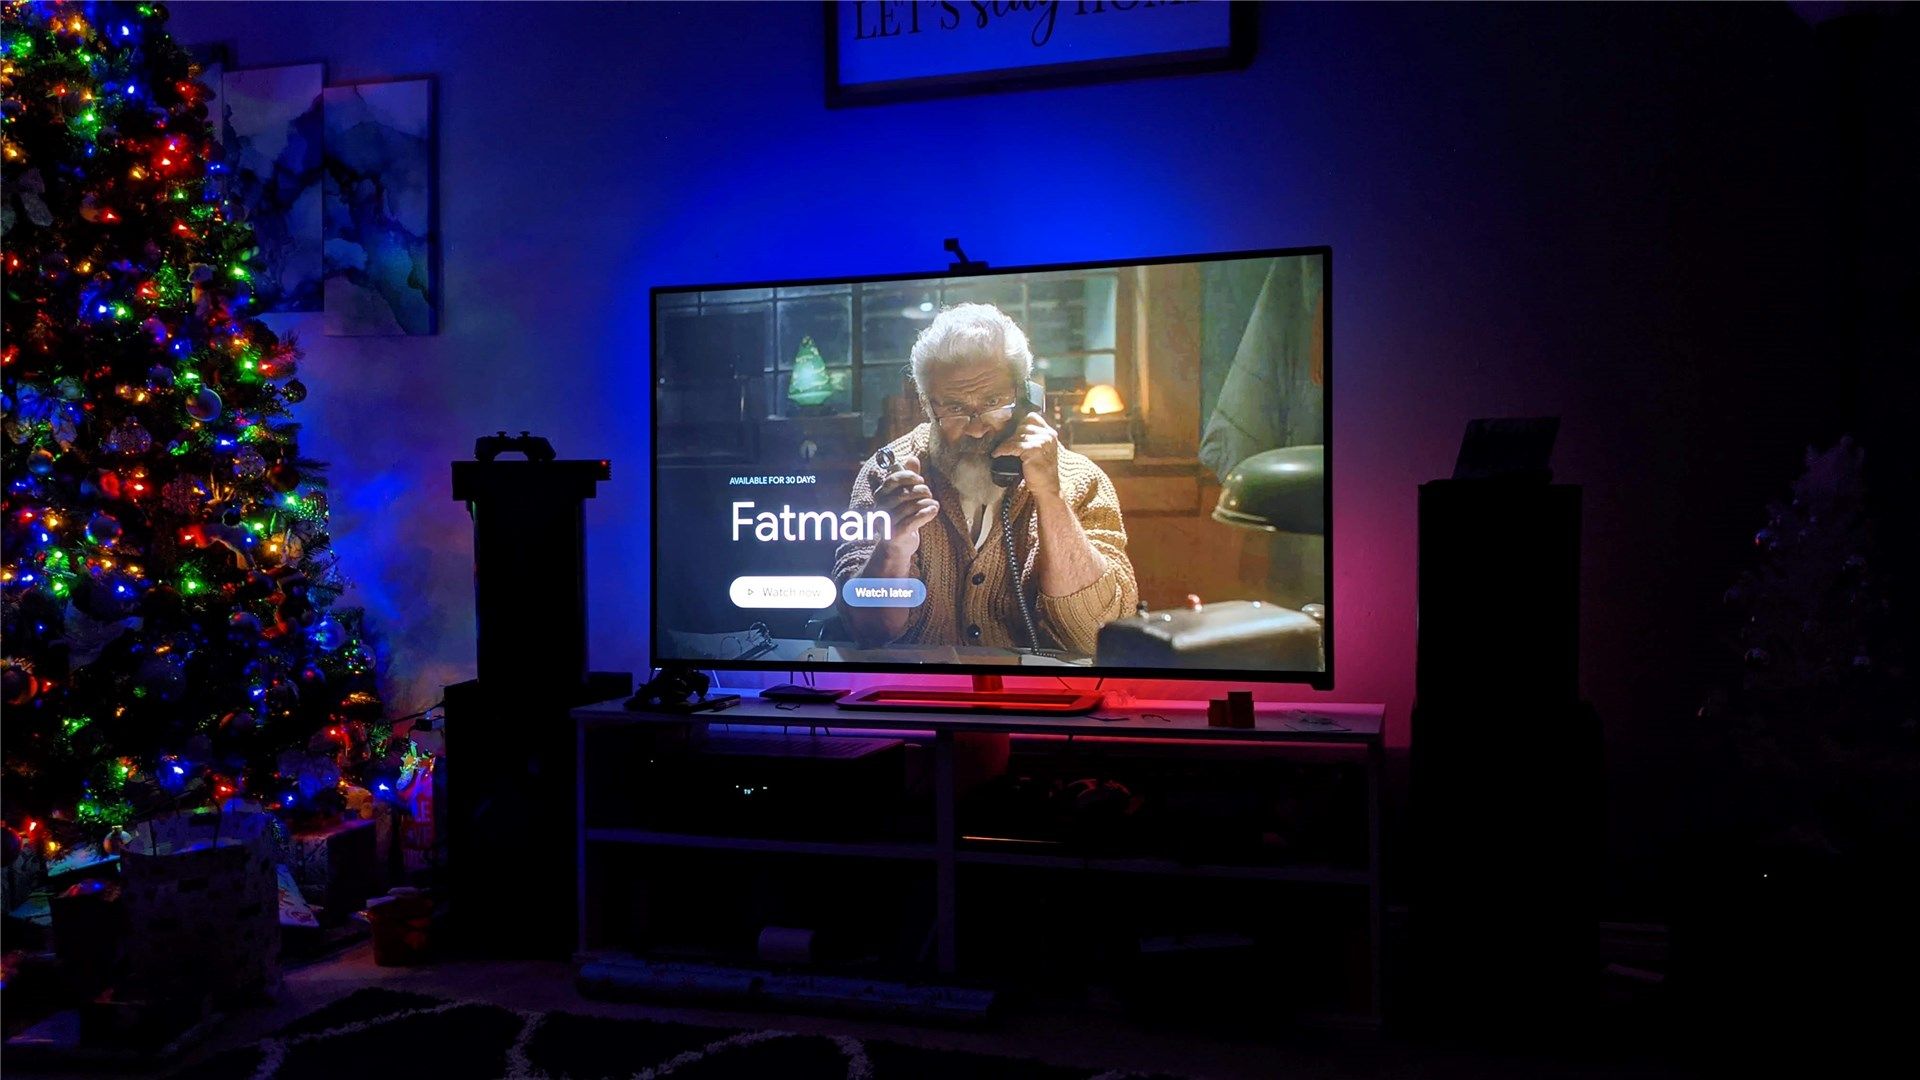
I'm constantly impressed at not only the low latency of the camera system but also the overall accuracy of the colors. It's not perfect, mind you---a scene that's predominately yellow will lead to green lights, for example. But it's still pretty great, especially when you consider the relatively low cost of entry. Plus yellow and green look okay together, so I'm good with it.

I'm not exactly sure where the green is coming from here, but it looks good regardless.
It also seems that the overall default setting for the light is blue. If the scene is too dark, the TV is off, or it can't really tell what color is where, then it defaults to some sort of blue hue. I'm not sure if this is a research driven decision or just a bit of luck, but the blue seems to work pretty well with almost anything. There hasn't been a time when using the Immersion that the colors offered by the LEDs were jarring or distracting---it almost always adds some sort of pleasing element.

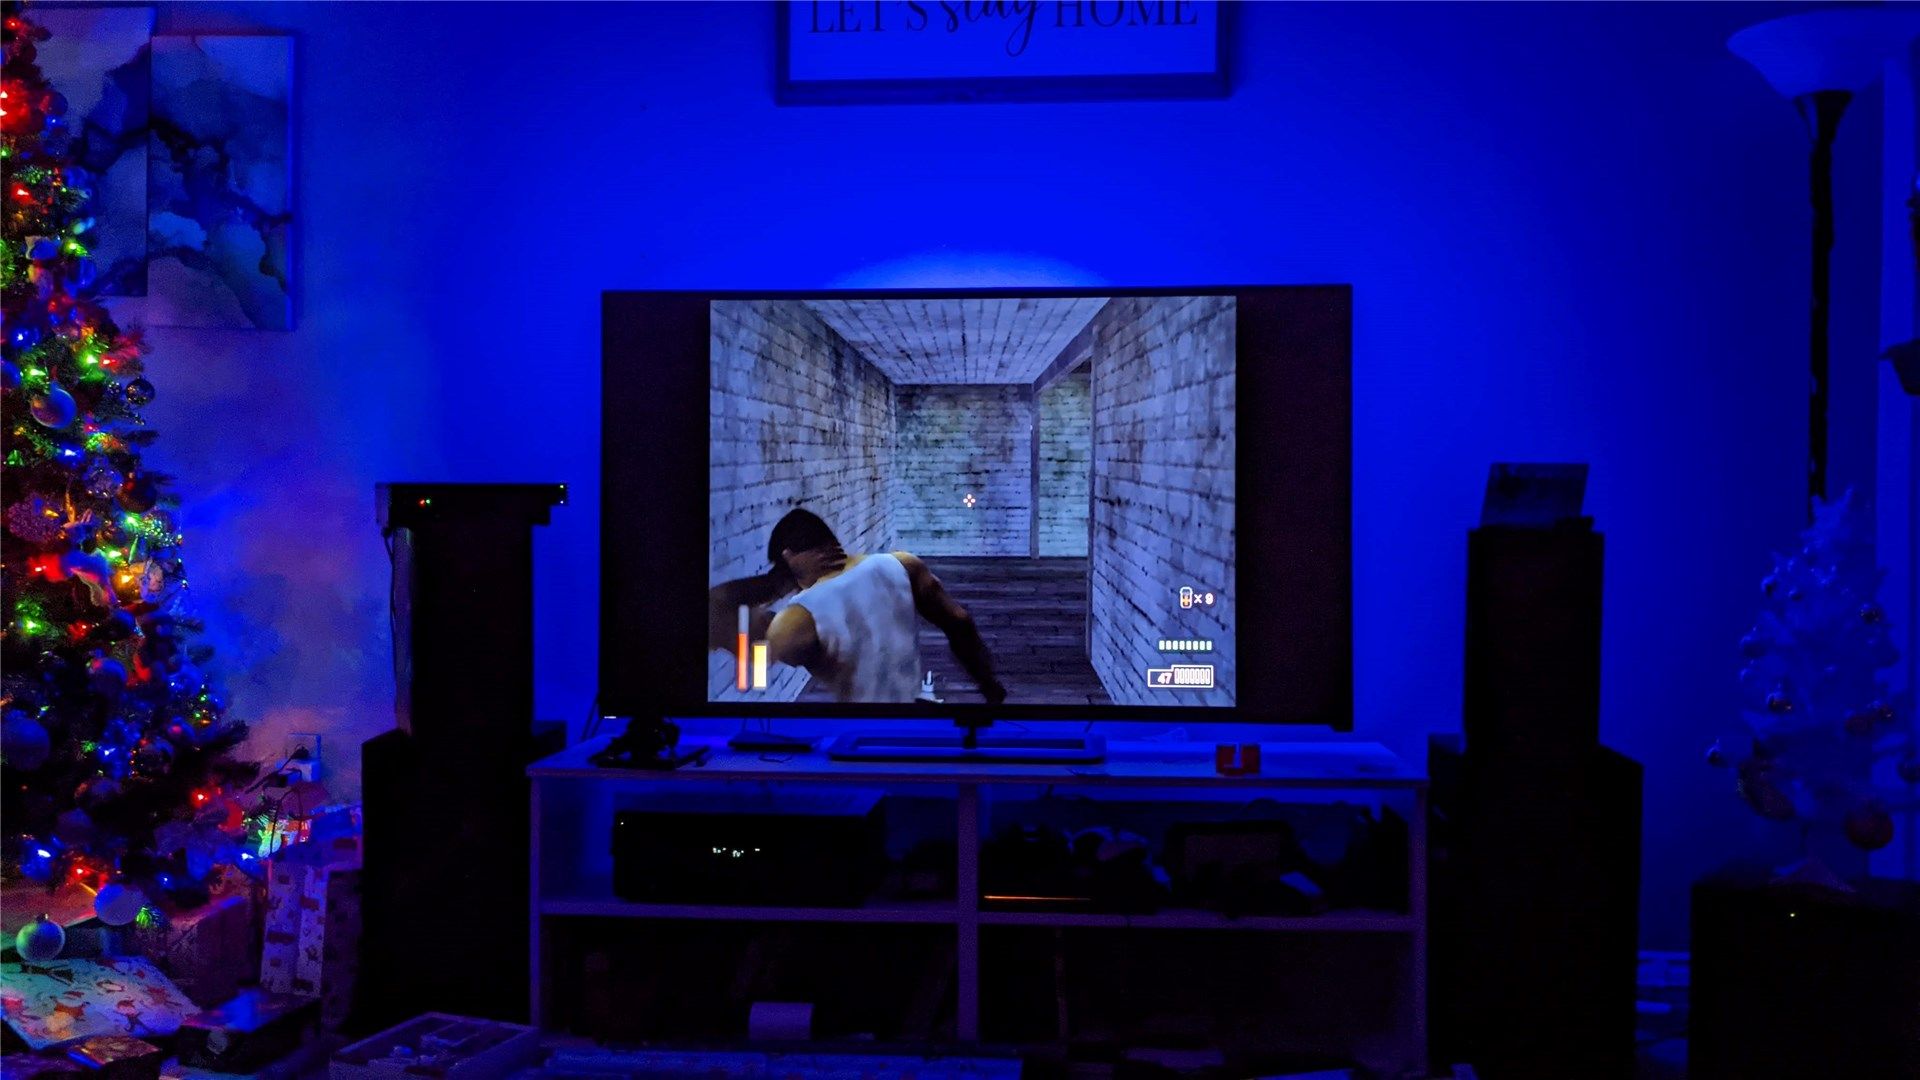
Responsive lighting with a PS2 game? Don't mind if I do.
I also love that it works with whatever is on the screen, which can't be said of a system that uses a sync box. I broke my old PS2 out a few weeks ago, which connects to the TV with old-school component cables, and have been replaying The Suffering. Thanks to the Immersion's camera system, it works flawlessly even with a 20+ year-old console. So cool.
Now, as I mentioned earlier, you can install the camera on the top or the bottom of the TV (again, this is not in the documentation---only in the app). I tried both ways, and have some thoughts on each option.
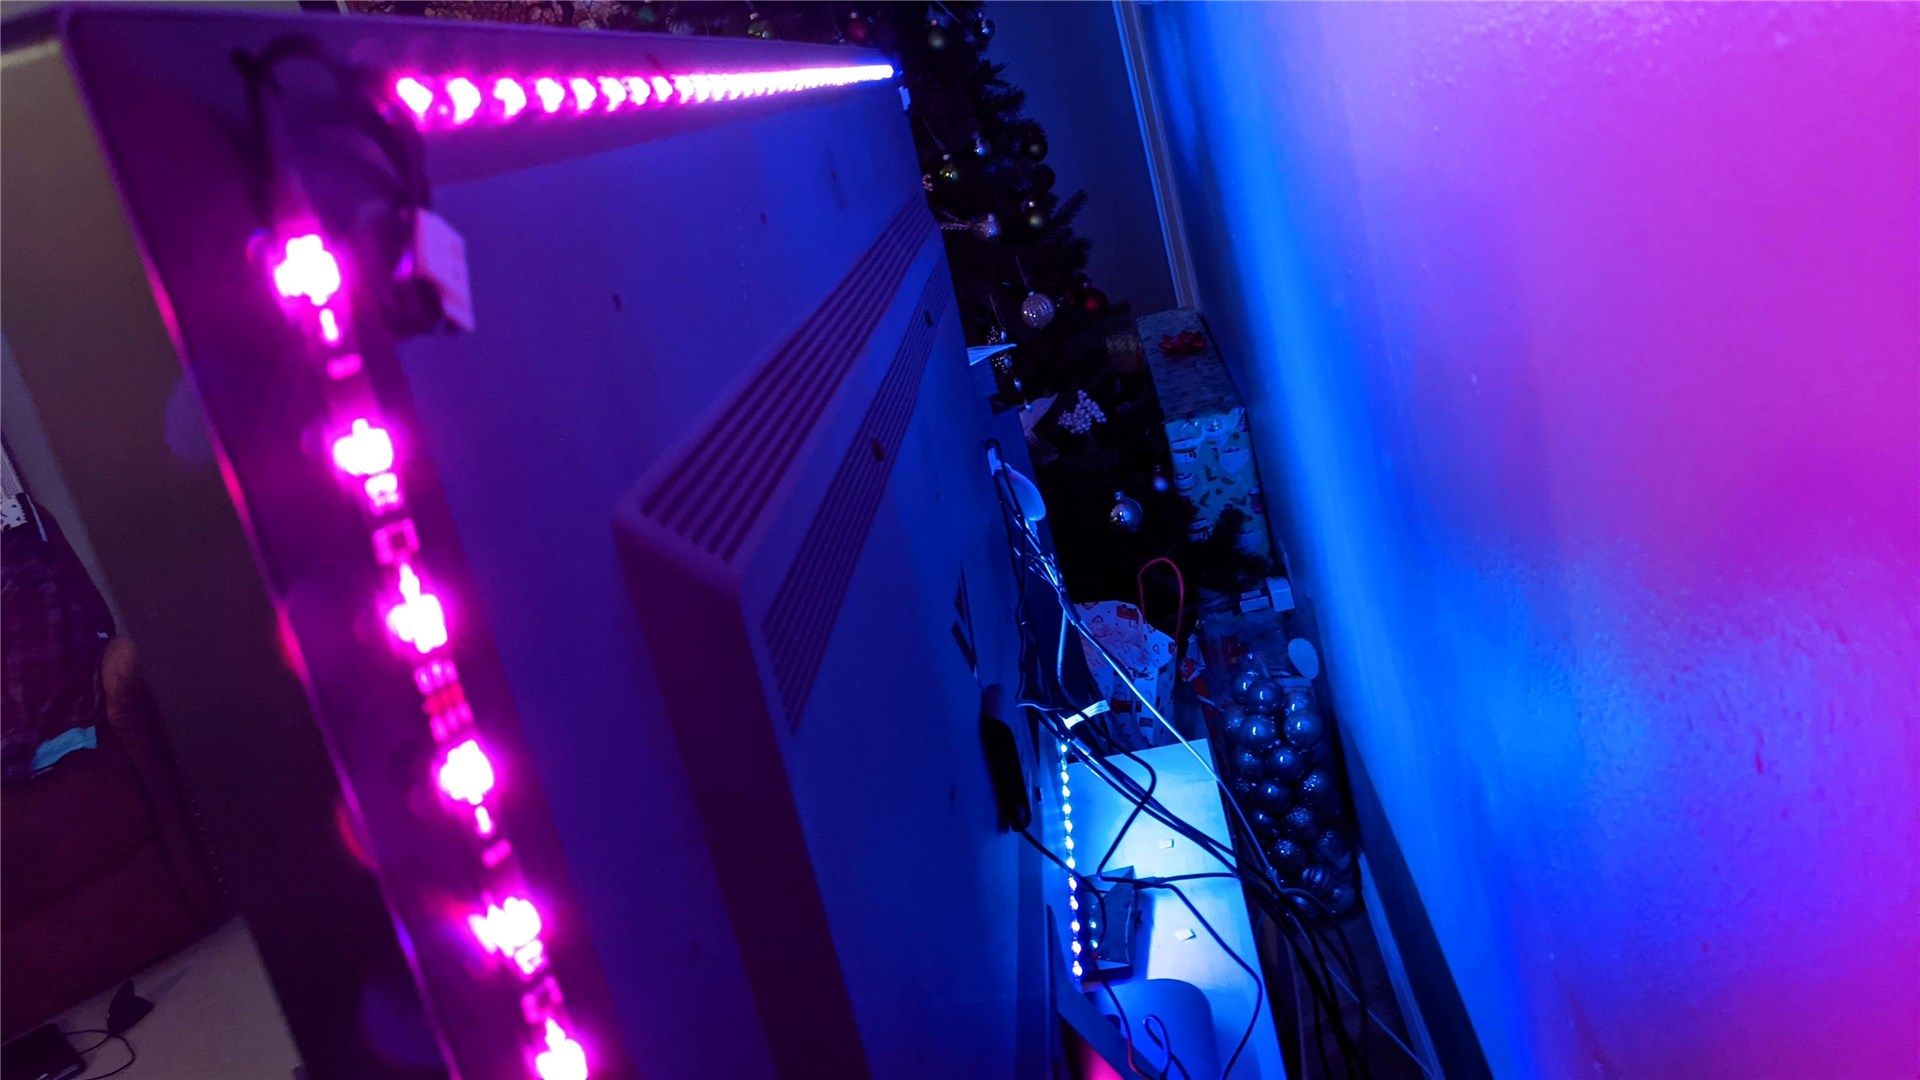
Camera On Top

See the camera up there? It's hard to unsee now.
The "default" option is to install the camera on top of the TV, looking down at the screen. I think this offers the best experience, but it's also the biggest eyesore. If you think you can get used to the camera on top of the TV, then I recommend going with this setup.
Why? Because it's less likely the camera will have any sort of interference when pointing down---like external light sources, for example. This means more accurate responses in all lighting conditions, which leads to a better overall experience.
But as I've already said, the camera on top of the TV is an eyesore. I don't like that.
Camera On Bottom

The camera is much less of an eyesore on the bottom.
This way is much more aesthetically pleasing, especially if your TV is on a stand (instead of mounted to a wall). At that point, the camera almost blends in with the stand, which is great---no eyesore, no distractions.
But since the camera is pointing upward, there's a greater chance for some sort of light interference. For example, there's a lamp about four or five feet to the right of my TV. If that lamp is on, the upper right section of light is always skewed from the screen---it's generally much lighter in hue than it should be. If I turn the lamp off, everything is good again.
Now, is that a big deal? No. Not to me. But it's something I would be remiss to not mention as a potential consideration.
Conclusion: You Won't Find a Better System for the Money

So, is the Immersion better than something like the Philips Hue Gradient? Nah. But it's 15% of the cost, which makes it a far better (and smarter) buy. It's responsive enough, the lighting itself looks great, and the app is easy to use. It has basic Assistant and Alexa integration, but you'll need to jump into the app for more granular controls.
Overall, I think the Immersion is fantastic. It's been out of stock everywhere for weeks at this point, but Govee tells me that it should be back on Amazon today (December 21st), though stock will be limited. That's probably pushing it for a Christmas gift, but you should still get your order before it's gone again anyway.

Govee Immersion
- Incredible value
- Low latency
- Easy to install
- The instructions don't make it clear that the camera can be installed on top or bottom
- The camera is subject to light interference