Read update
- Verified content and links are still good. Updated images and added new picks for the PCB, case, and soldering kit.
Quick Links
If you're ready to wade out of the shallow end of the mechanical keyboard pool, then it's time to start building your own. Here are all of the tools you will need to build your first mechanical keyboard from scratch.
Why build your own? For the same reason people invest lots of time, energy, and sweat into working on a custom car---because you want what you want, the way you want it, and the only way to achieve that is by doing it yourself. By learning how to craft your own keyboard you can get exactly what you want: the exact layout, the exact switches, the exact LEDs (or lack thereof) and even the exact casing for the body of the keyboard itself.
There are a lot of parts in this list, but trust me, it's not as complex as it seems. Essentially you grab a PCB (printed circuit board), solder the switches into the pre-set spots, then put the keycaps and the case in place, and you're done.
Learning how to effectively use the soldering iron will be the most difficult bit for novices, and we've accounted for that, with a nice all-in-one beginner's kit and an electronics toy you can practice on before you get to the real thing. It's worth noting at this point that a soldering iron is, well, an iron, and it needs to be a couple of hundred degrees in order to melt the solder. Once you've got all your supplies, you'll be all ready to build your first mechanical keyboard!
UPDATE: 5/11/22
Verified content and links are still good. Updated images and added new picks for the PCB, case, and soldering kit.
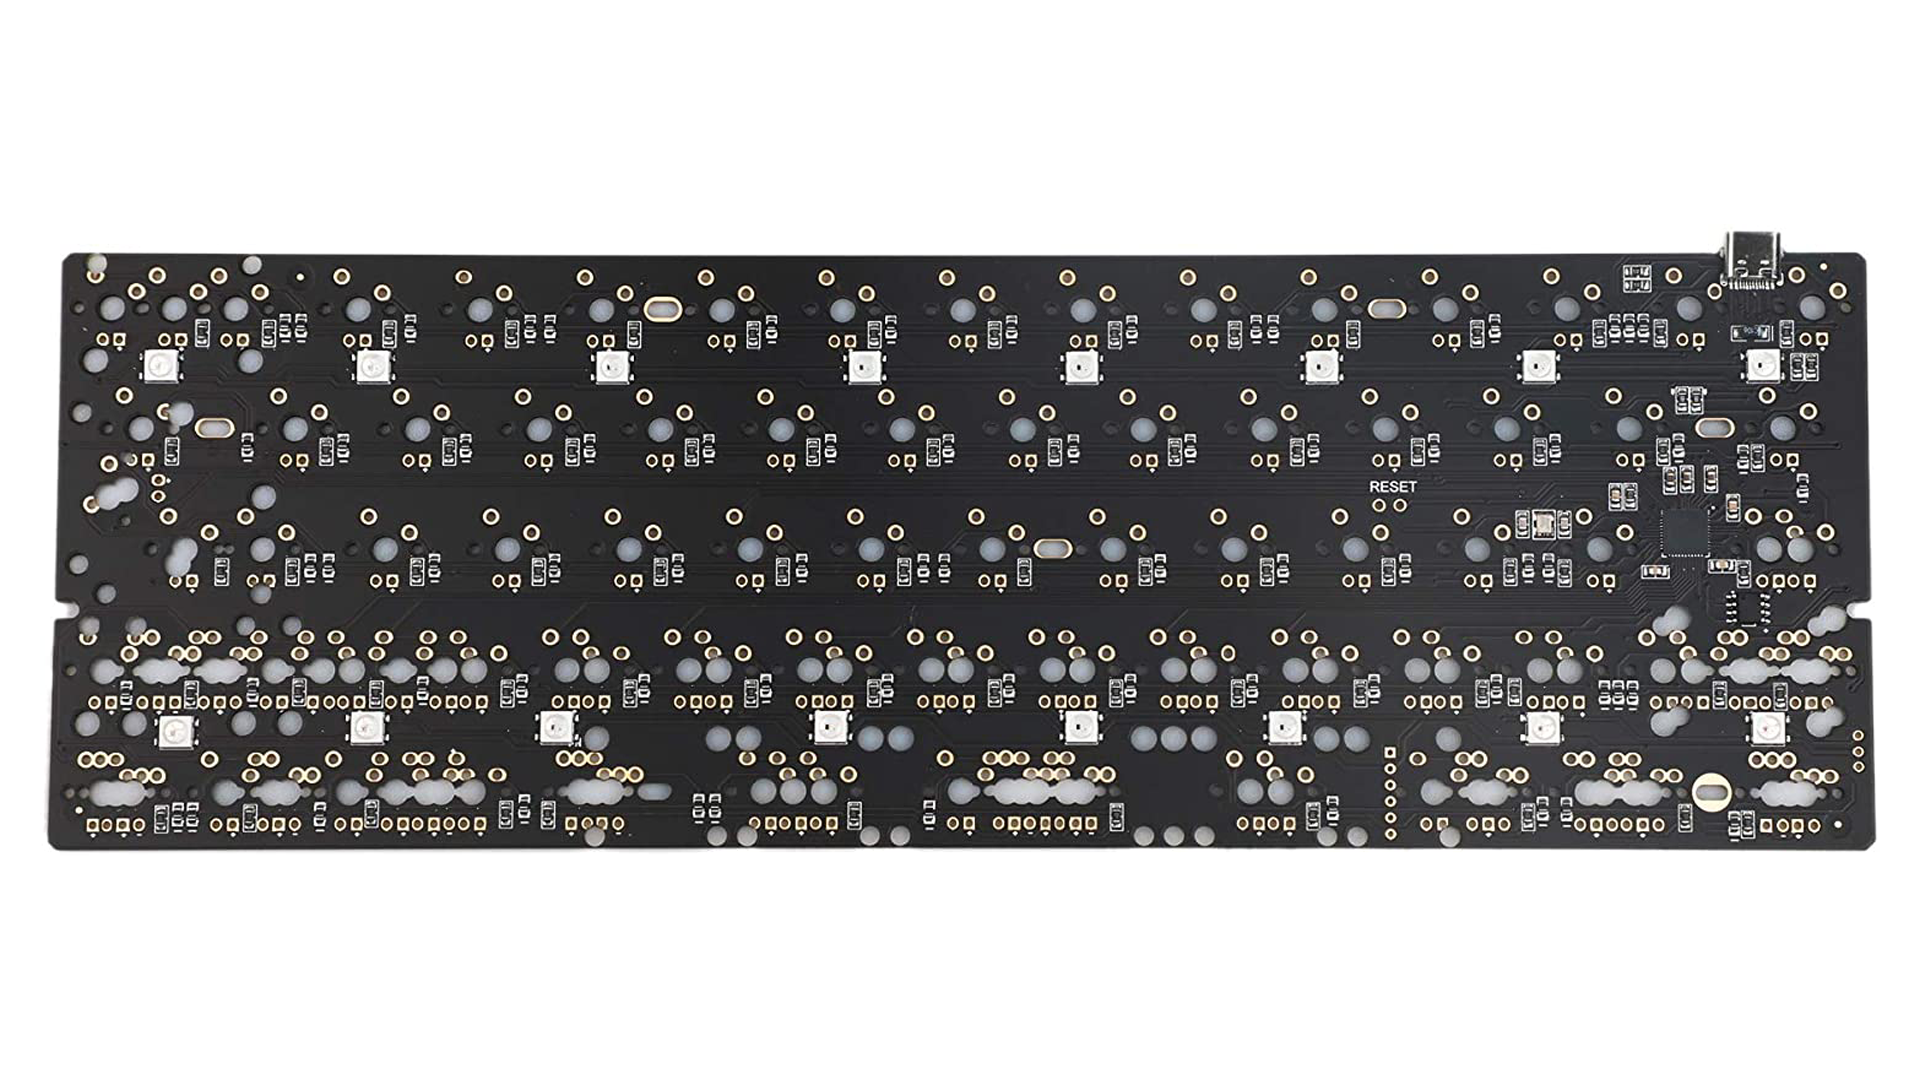
Mechanical Keyboard PCB: YMDK GH60 QMK PCB
Don't let the odd name fool you. This printed circuit board is a standard beginner's model, allowing the user to assemble a small board quickly and easily. Once you have everything assembled, it doesn't need any extra programming---just plug it into your computer with a USB-C cable (you'll need one of these if you don't already have one laying around) and you're ready to go.
It supports most 61 64 Minila layouts, but it is not hot-swappable; if you do want that feature, you'll still need to solder those on yourself. This PCB already has the resistors chipset and the underglow RGB soldered on. If you'd like to customize it for easier access to the arrow or function keys, this PCB is compatible with the popular web-based QMK programming tool; all you need to use that is a browser.
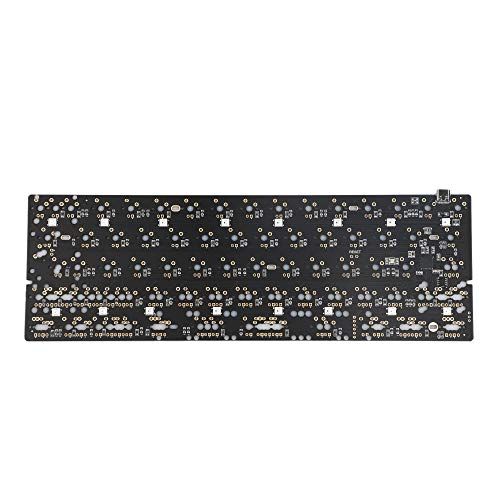
YMDK GH60 QMK PCB
This QMK PCB already has the resistors chipset and underglow RGB presoldered.
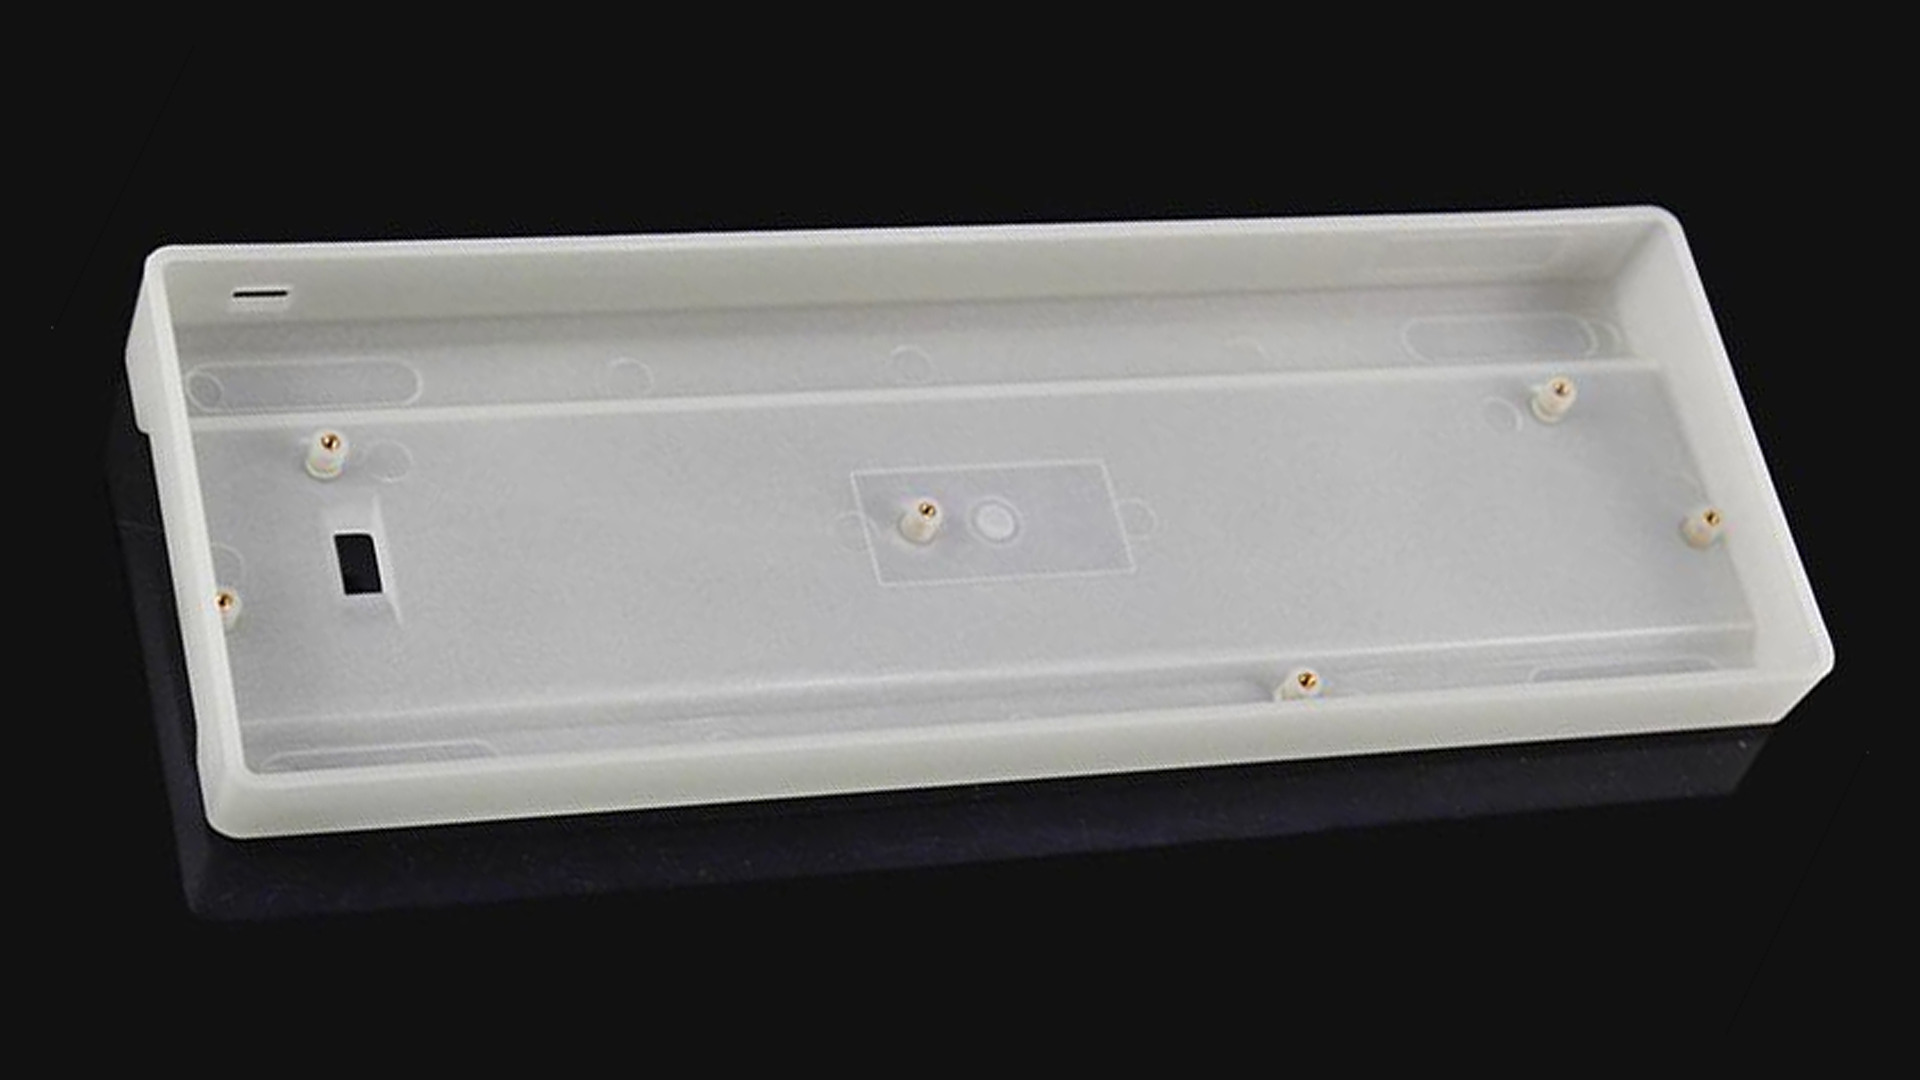
Mechanical Keyboard Case: KBDFans GH60
This is the case that your fully-assembled keyboard will rest in. It's not especially fancy, just some standoffs and screws and an access hole for the USB port, but it's inexpensive and specifically compatible with the GH60 PCB. All you need to do is screw down the board and plug it in. Later you can upgrade your custom keyboard with a fancier model made from aluminum or wood, without needing to build a completely new board, thanks to the standardized five-standoff design.
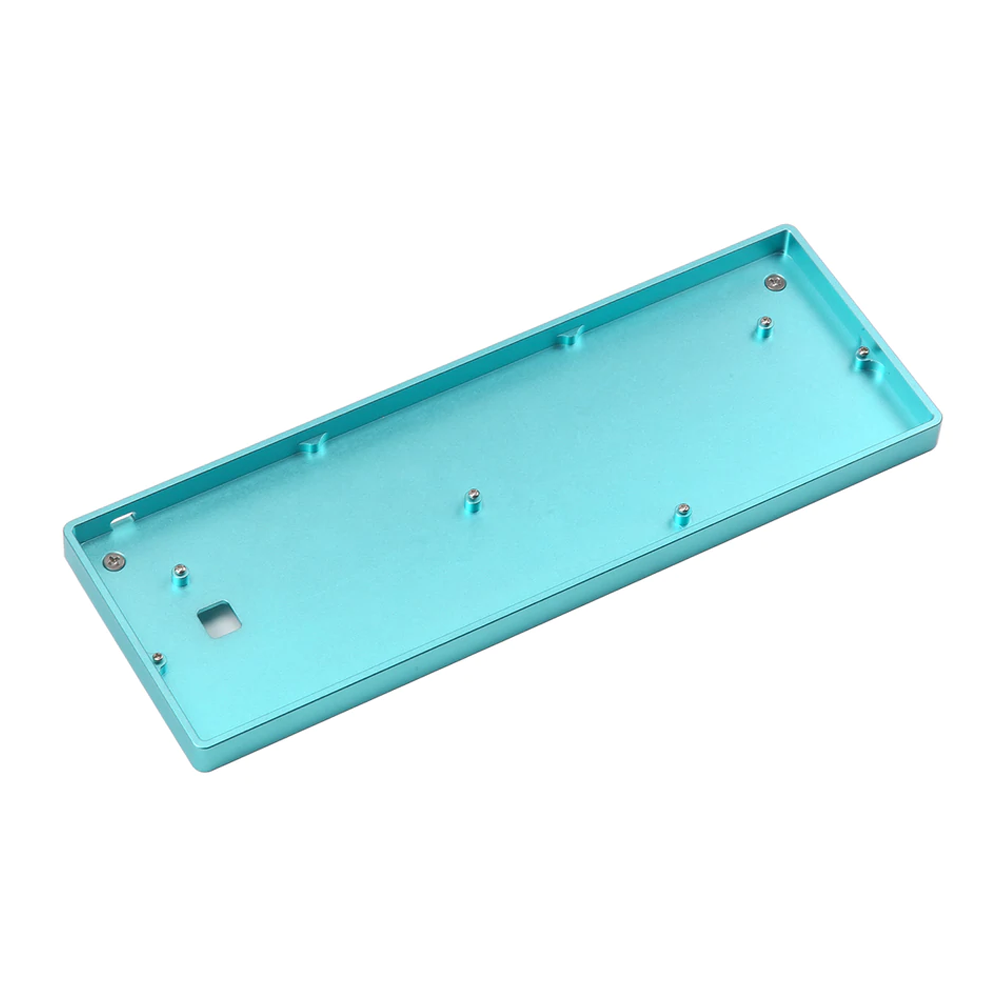
KBDFans GH60
Put your freshly-built keyboard in this simple and inexpensive GH60 PCB-compatible case.
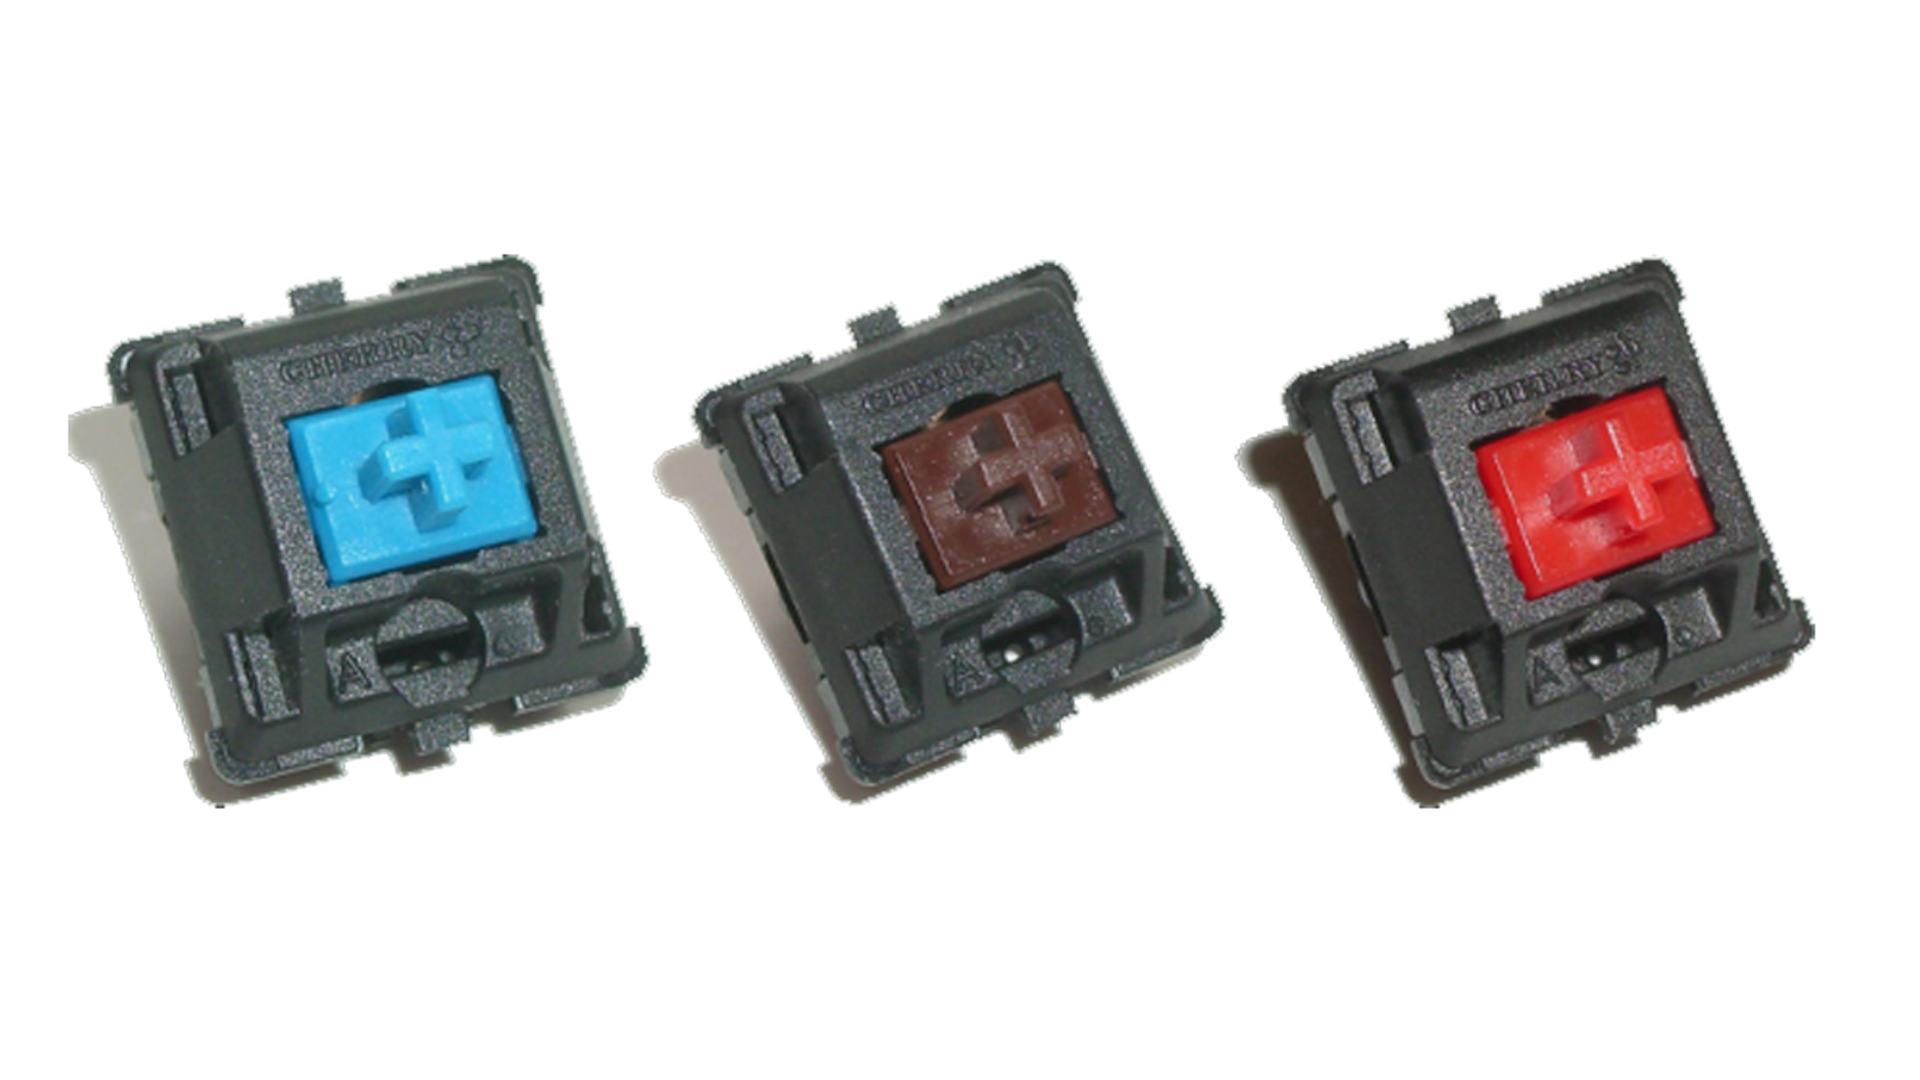
Mechanical Keyboard Switches: Cherry MX PCB Mounted
We're going to recommend starting with PCB-mounted switches from Cherry. "PCB mounted" means they have little plastic legs that secure them in place directly on the PCB, so you won't need to use an extra plate piece during your build. You'll need one switch for every key on the keyboard; on a standard US layout for the 60% GH60 PCB, that's 61 switches. We recommend buying at least 70 for your first build, since it's more than likely that you'll mess up one or two of them during the building process, and they're cheap enough to buy a few spares.
Go for Blue switches if you want them loud and clicky, Brown switches if you want them softer but still keeping a tactile bump, or Red switches if you'd like them fast and smooth for gaming.
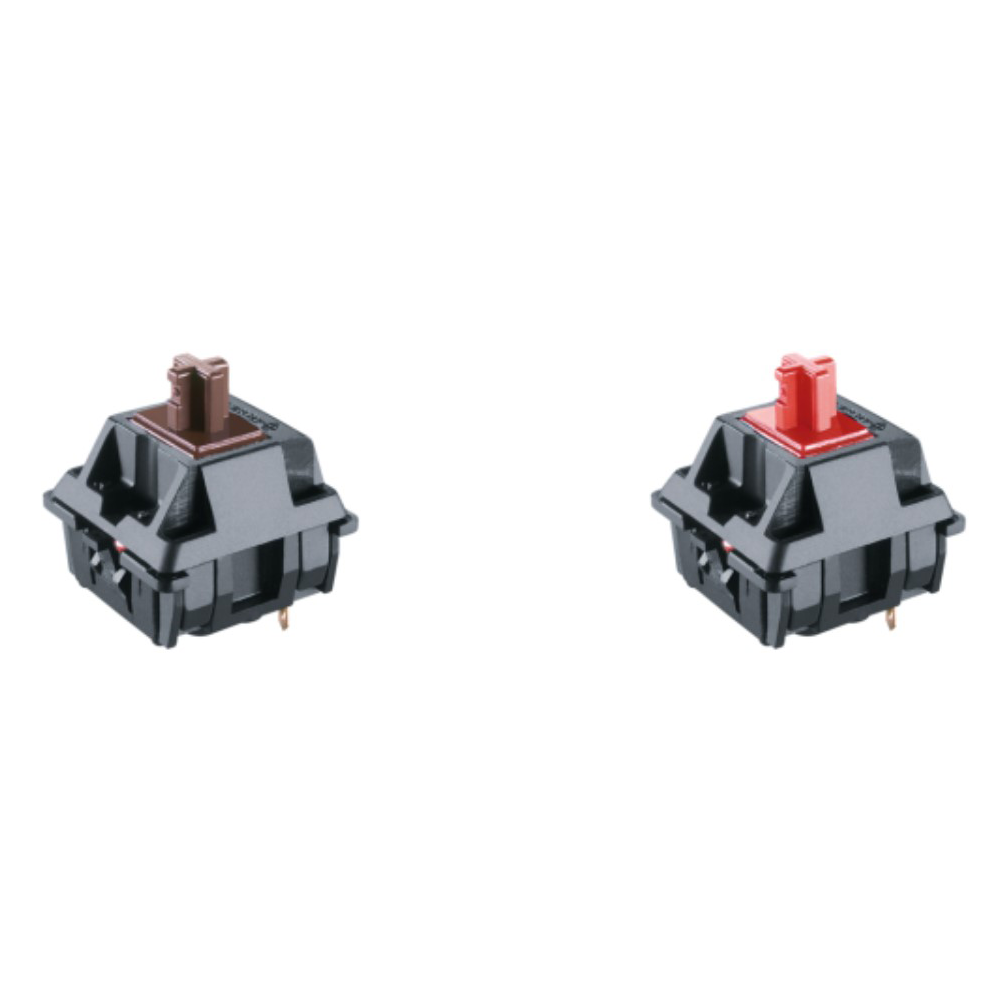
Cherry MX PCB Mounted
Choose the keyboard switches of your dream, whether you like 'em clicky or smooth.
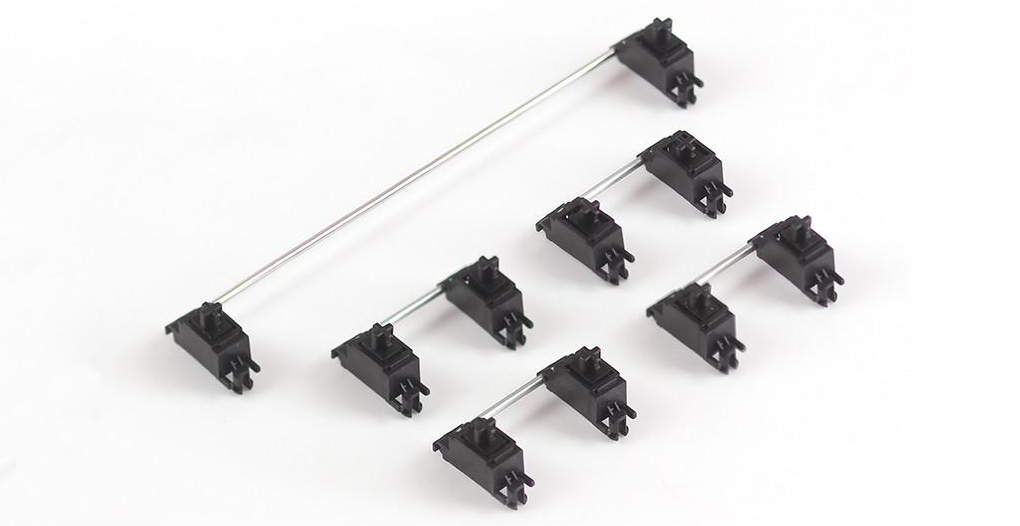
Keyboard Stabilizers: Cherry PCB Mount
Stabilizers are combination stems and bars that keep long keycaps, like the one on the space bar and the enter key, from wobbling on the switch. Cherry-style stabilizers are preferable since they don't require you to clip the bars directly into the keycaps. This set from KBDfans includes all the ones you'll need for the 60% PCB we've selected.
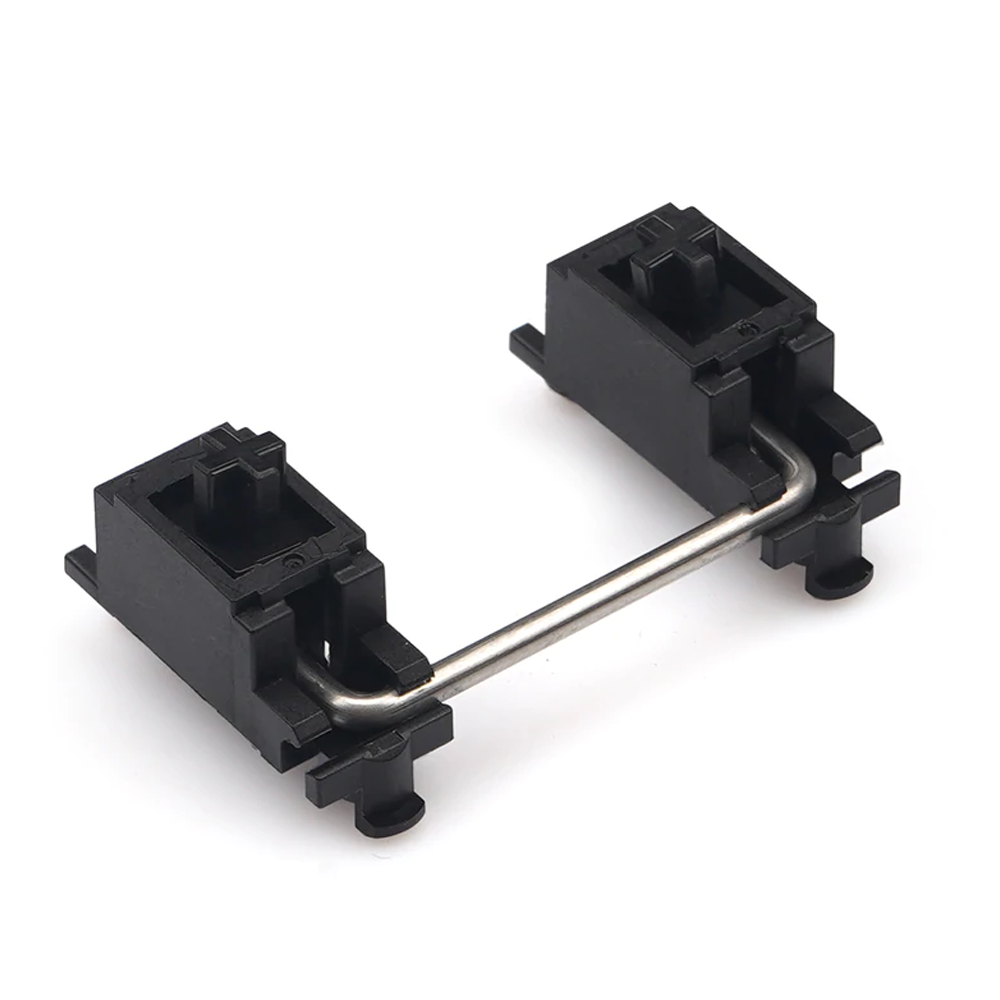
Cherry PCB Mount
Keep your key switches stable, not wobbly, with a good stabilizer.
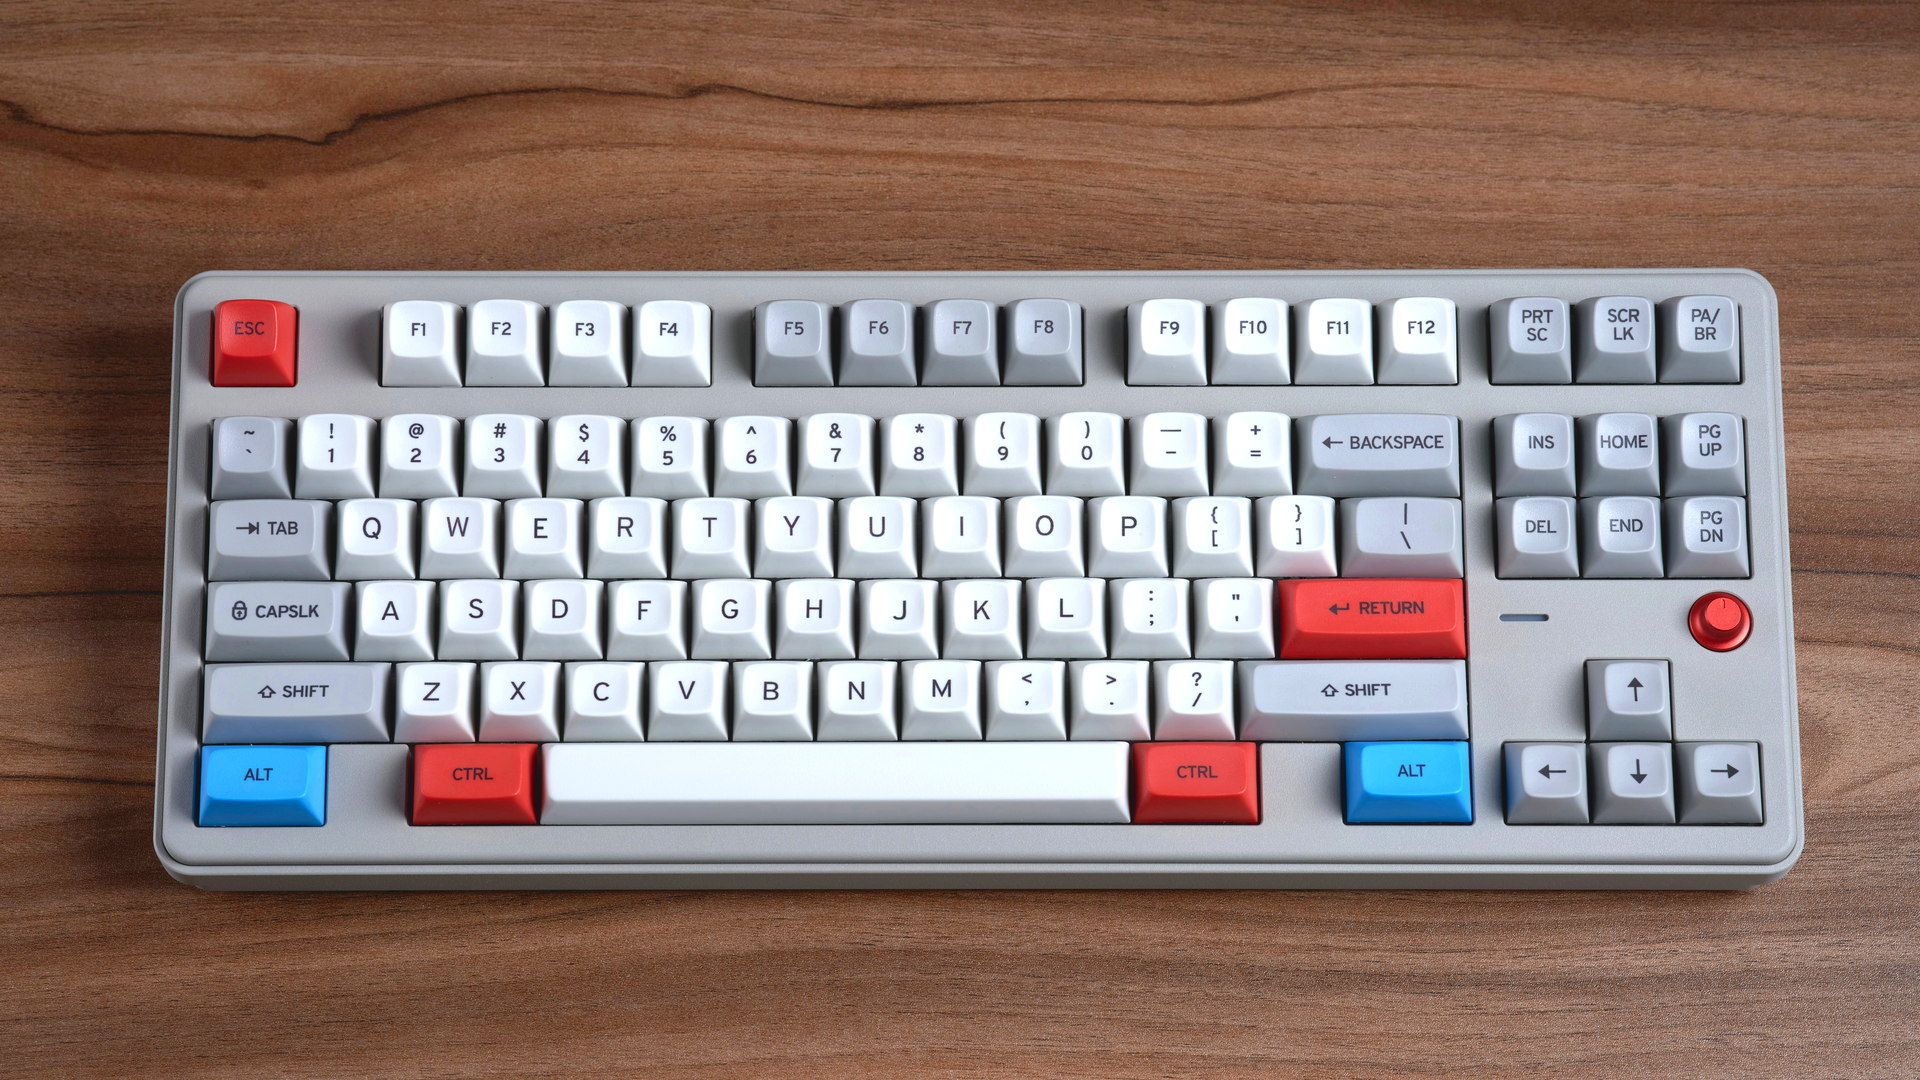
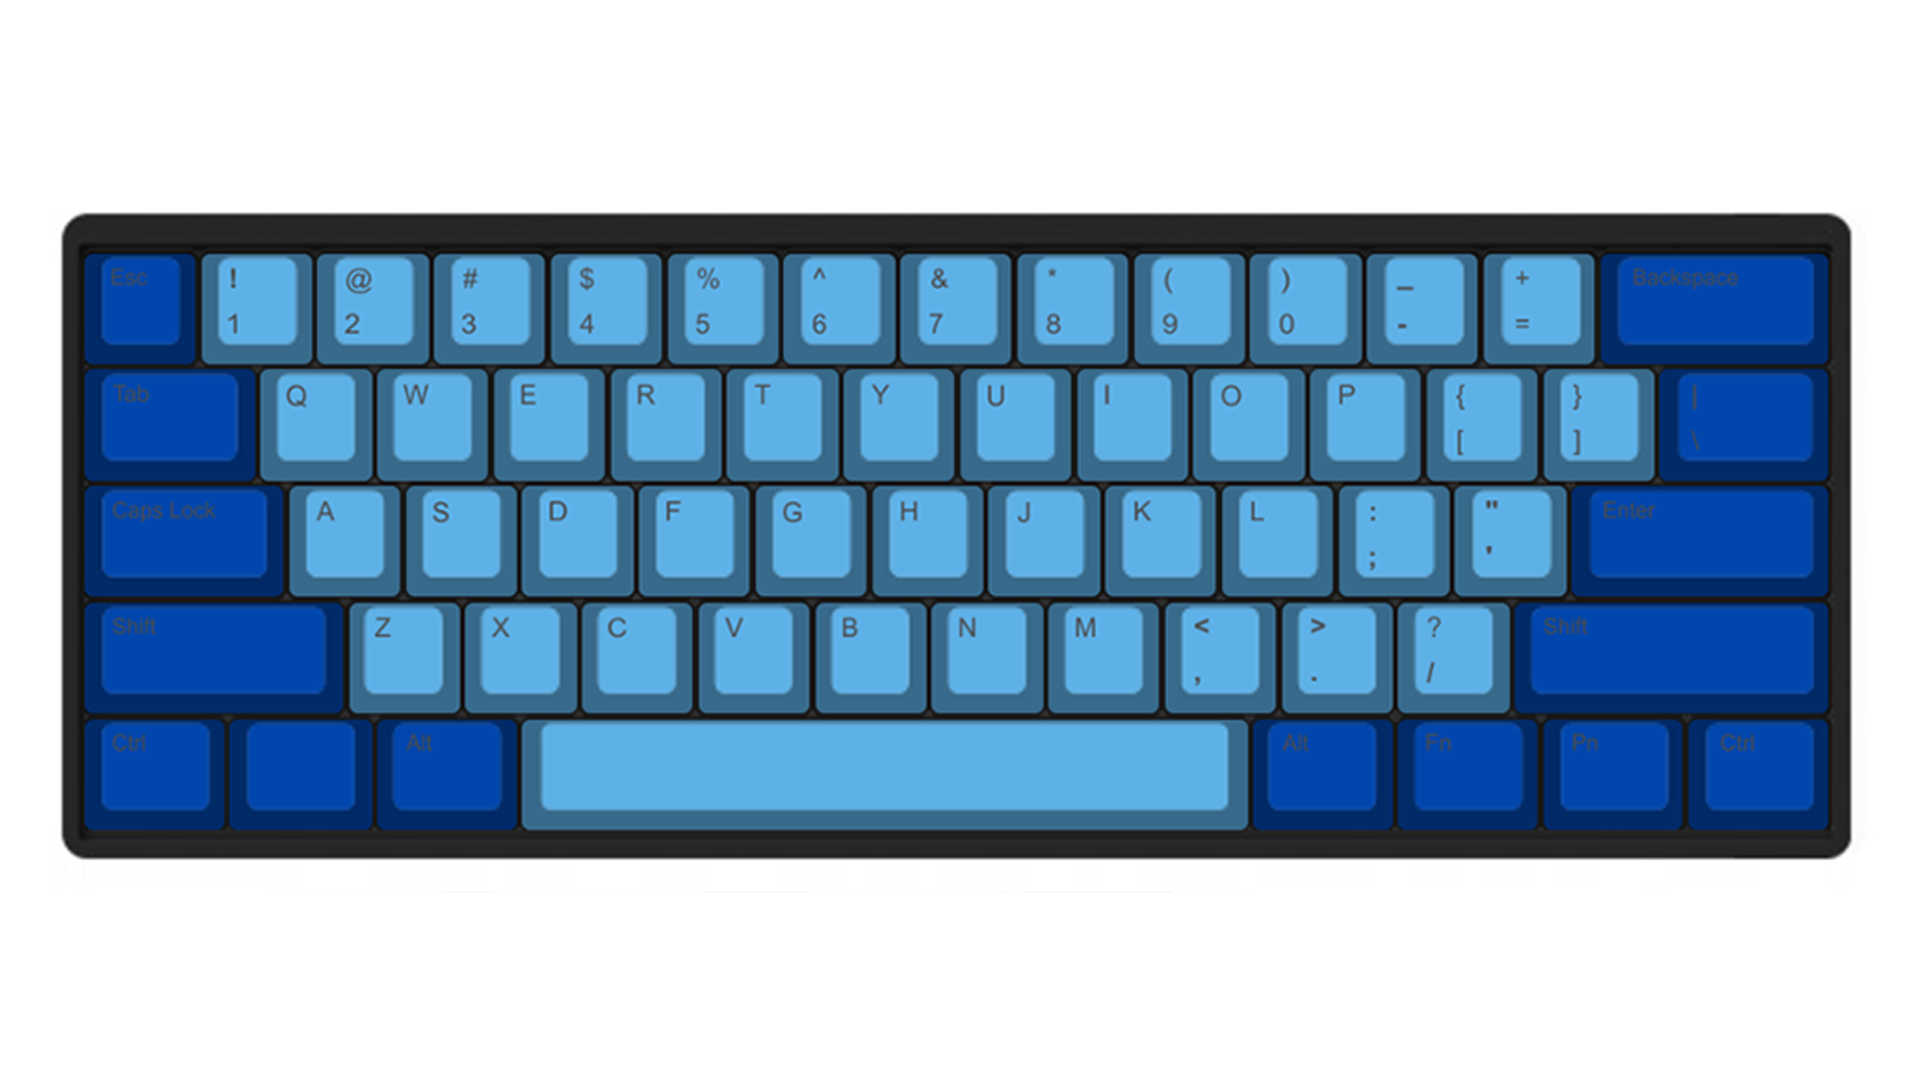
Mechanical Keyboard Keycaps: WASD Keyboards Custom Set
One of the most entertaining aspects of using a mechanical keyboard is being able to swap out the keycaps whenever you like. For your first build, we recommend using the customizer tool from WASD Keyboards. The set of ABS caps for a 60% keyboard is reasonably priced, but you can choose any combination of colors you like from the online tool. If you're handy with a graphics program, you can even upload your own custom art and get it printed on the keycaps for free! And if you don't like the results, don't fret---you can change the keycaps for a new set at any time without any disassembly. As a bonus, each keycap set from WASD Keyboards includes a free key puller tool.
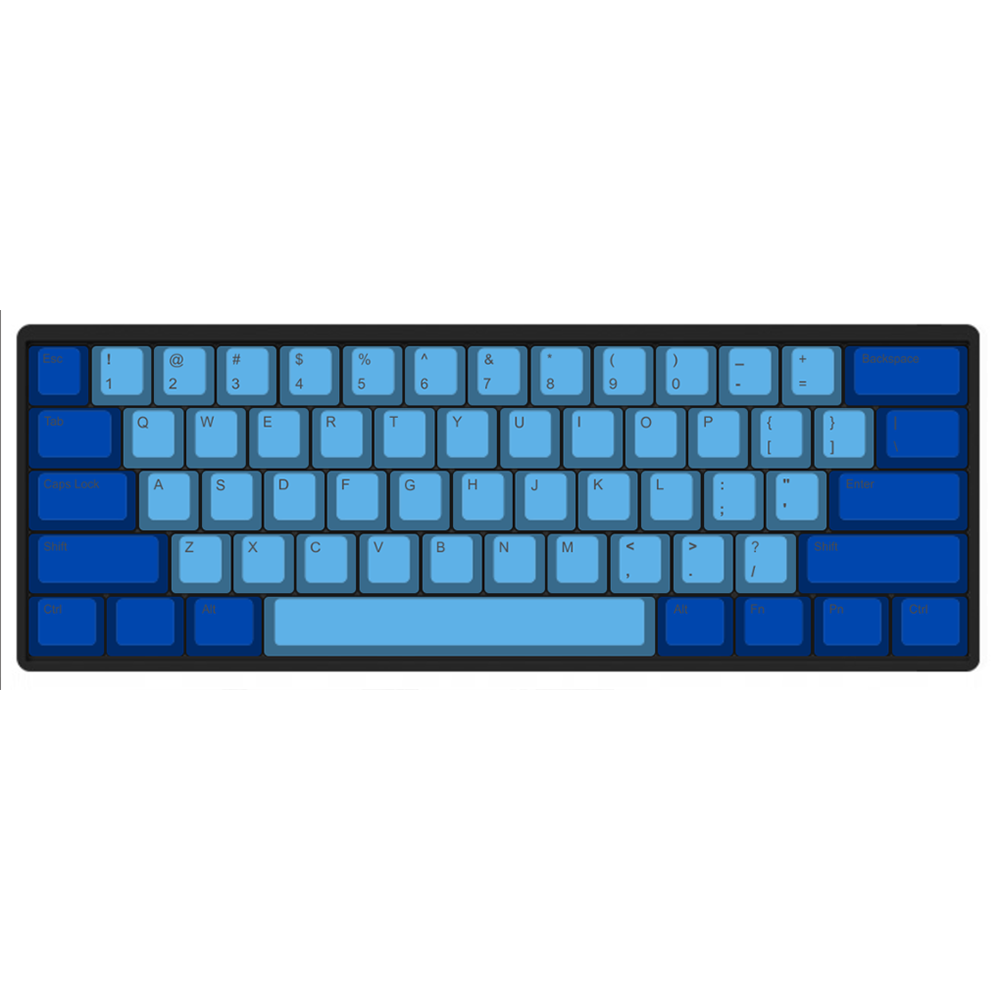
WASD Keyboards Custom Set
Your keyboard's almost done, but you'll need some pretty keycaps to top things off!
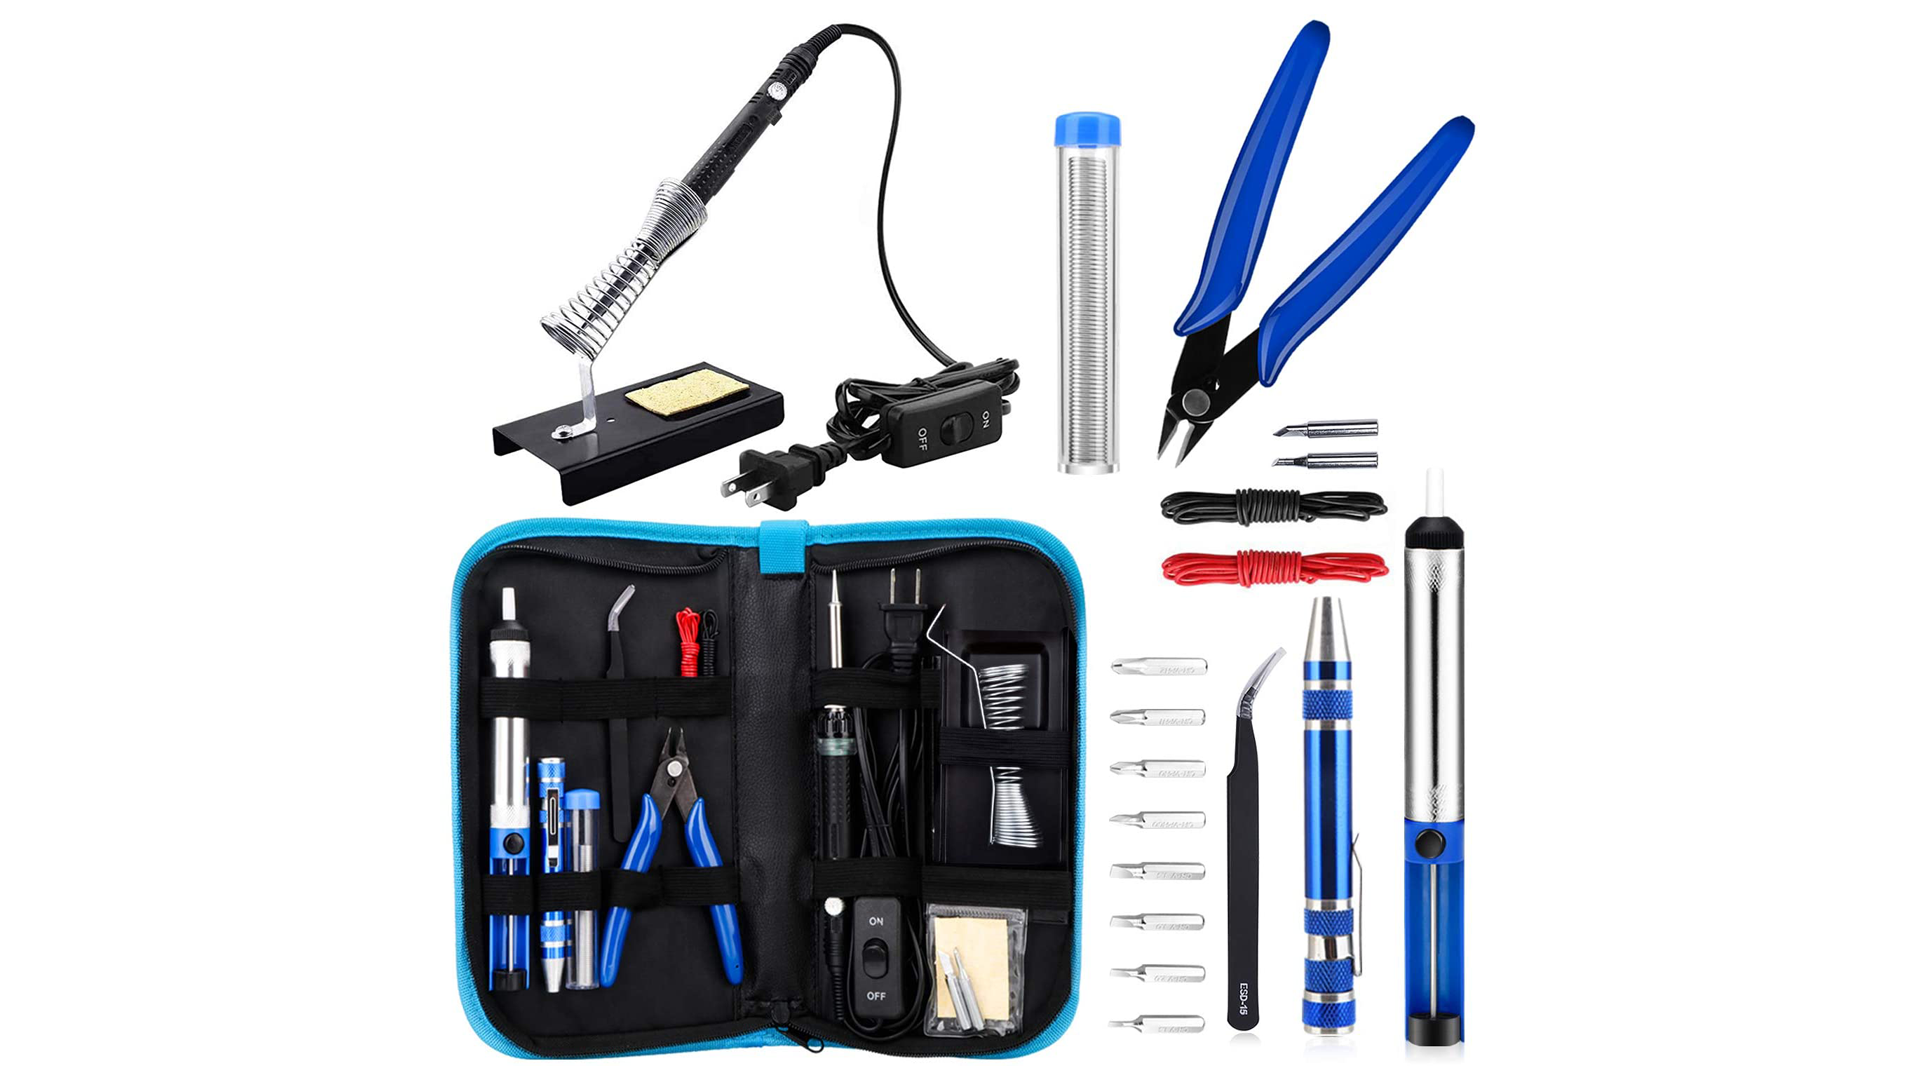
Soldering Iron: ANBES Soldering Iron Kit
Any soldering iron will do for your first project---you needn't splurge on a professional model. But for only about five bucks more than the cheapest option, this soldering iron kit includes everything you'll need on top of the iron and desolder pump, plus a handy multimeter for testing your PCB's completed circuits.
Crucially, the iron in this kit includes an on/off switch, which means you won't need to constantly plug the iron in and unplug it just to get things working. The kit even includes a screwdriver for you to use when you're ready to install the board in the case.
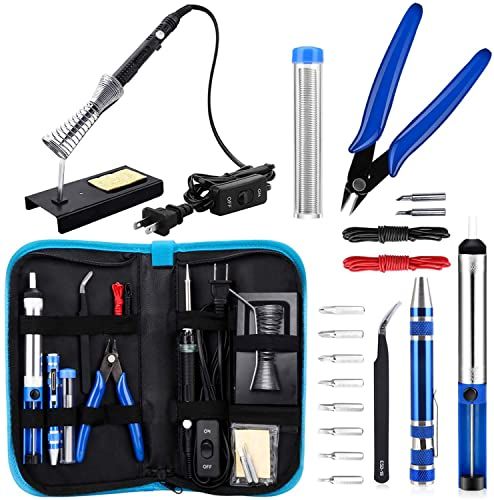
ANBES Soldering Iron Kit
Get all the tools you'll need to solder your PCB.
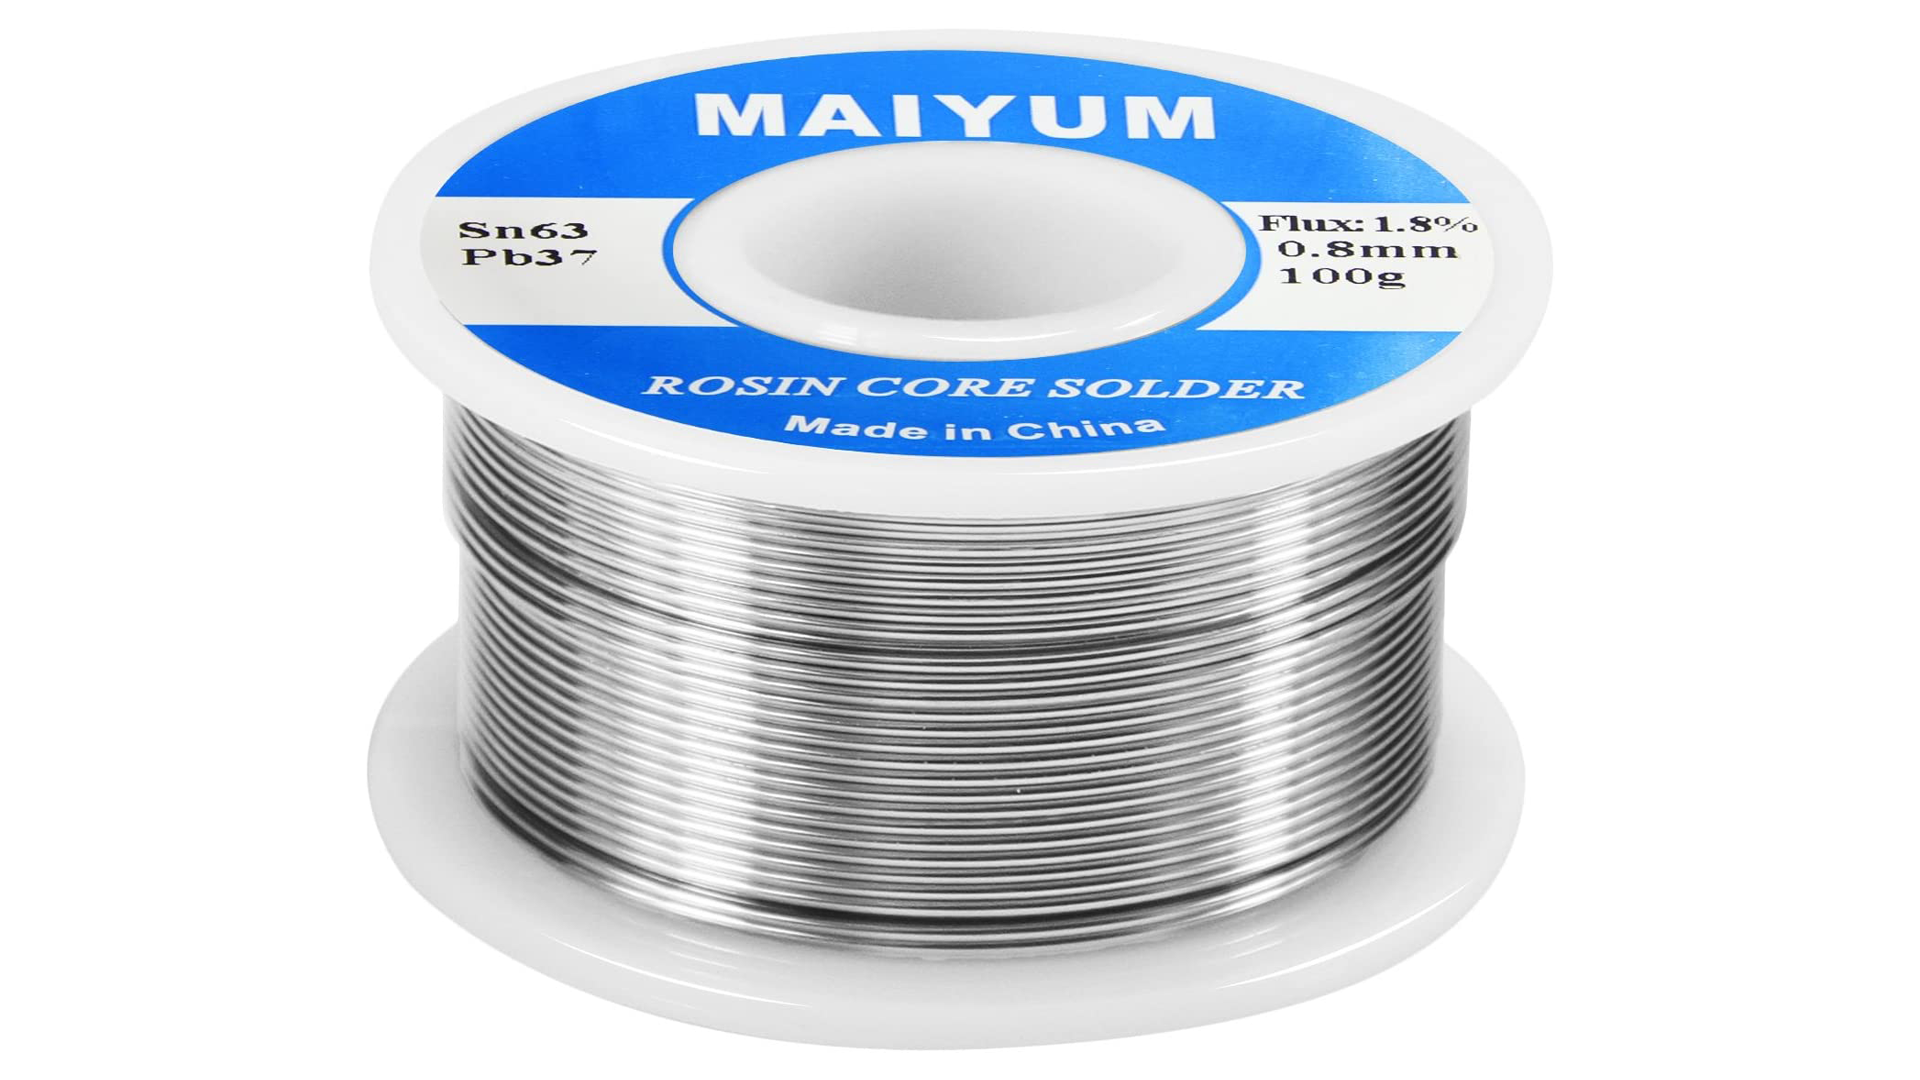
Solder Wire: MAIYUM 63-37 Rosin Core
You'll need some solder wire to actually do the soldering, and this is the standard stuff. This roll will be more than enough to finish your project several times over. Note that like most solder, it includes lead for a low melting point, but you won't be exposed to it so long as you don't touch it while it's liquid. Which you shouldn't be doing anyway, since liquid solder is hot enough to instantly give you a third-degree burn. (Again, this stuff isn't for unsupervised kids.)
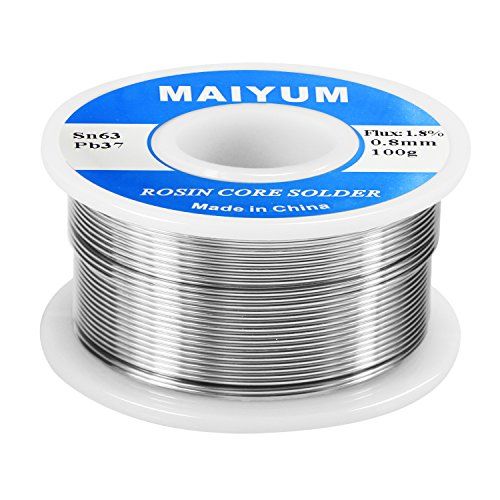
MAIYUM 63-37 Rosin Core
This is standard, quality solder wire that'll be perfect for using on your mechanical keyboard build.
Eyewear: High Magnification Reading Glasses
You shouldn't be using a soldering iron without some kind of eye protection. Since soldering tiny switches will strain your eyesight anyway, I like to use a set of cheap reading glasses, so I can see my work more closely and protect my eyes at the same time. These 4.0x magnification glasses are more powerful than most people need for actual reading, but they're ideal for close-up soldering work.
[rg-buttons product_url="https://www.amazon.com/dp/B01LZDSHI0/?th=1" post_url="https://www.reviewgeek.com/?p=7007&preview=true"][/rg-buttons]
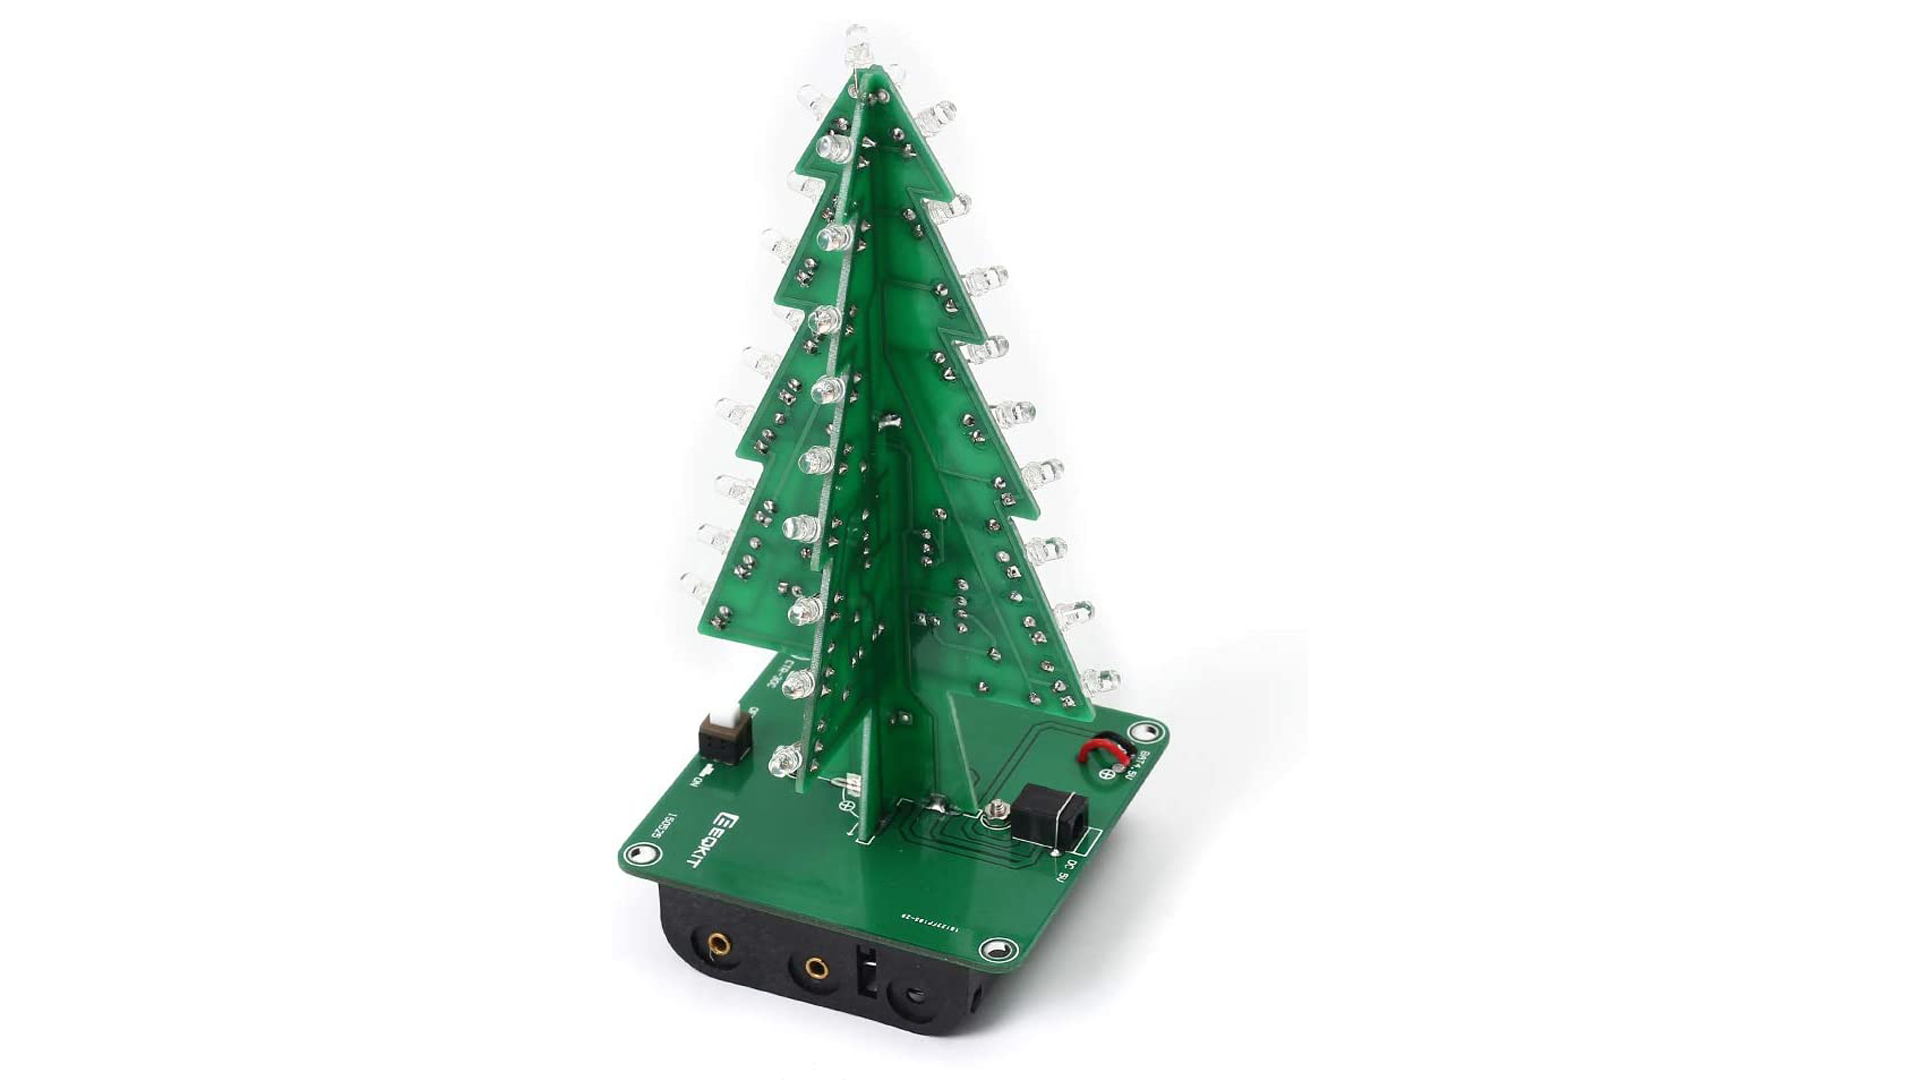
Soldering Practice: ICStation DIY 3D Christmas Tree Assembly Kit
What's this thing doing here? While it's true that you don't need any of the pieces in this toy kit to actually make a keyboard, I recommend picking it up anyway if you've never soldered any electronics before. Following along in the instructions to assemble the basic PCB tree and install the LED lights, resistors, and capacitors will give you a crash course in the basics of soldering.
Combine the skills you learn from tinkering around on this with a few instructional videos on YouTube, and you'll be ready to graduate to your keyboard parts in no time.
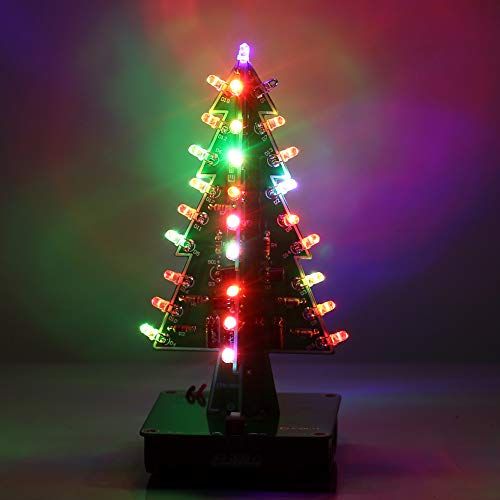
ICStation DIY 3D Christmas Tree Assembly Kit
Never soldered before? Just a bit rusty? Try your hand on this practice kit before you get started on your keyboard.

